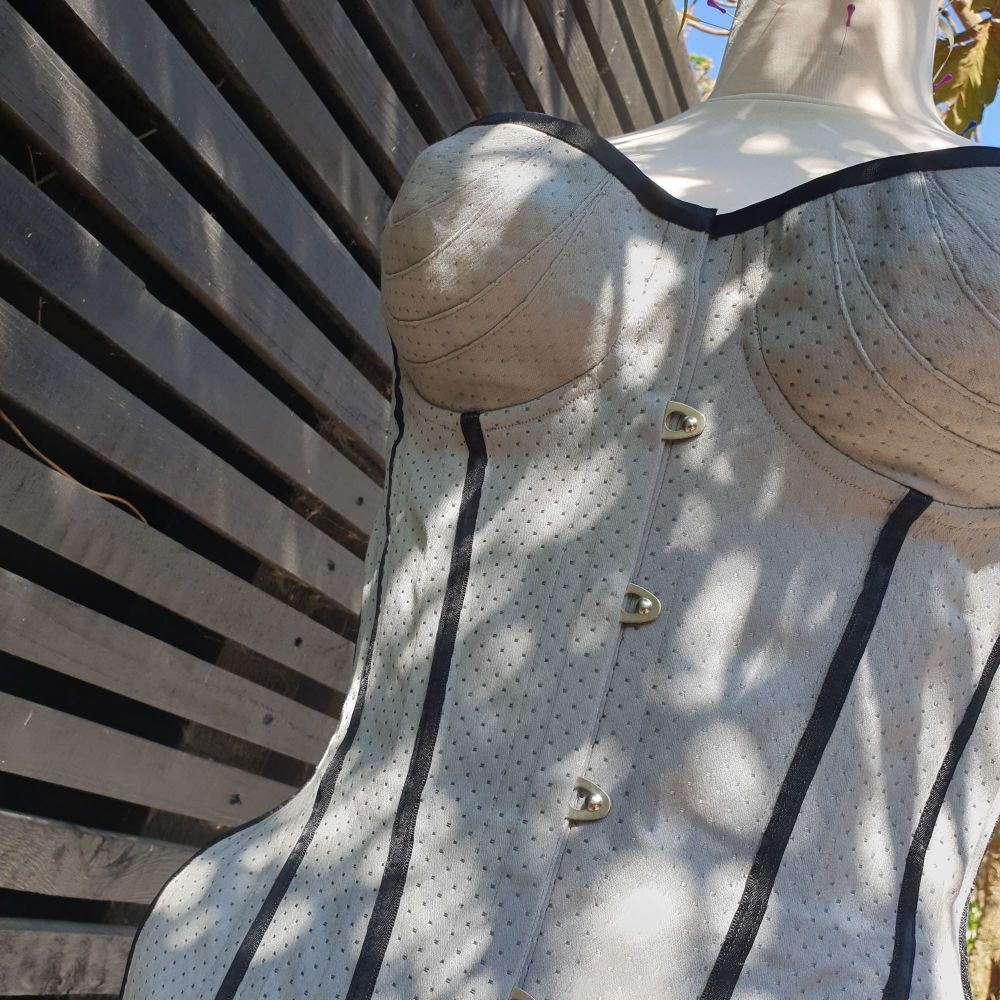
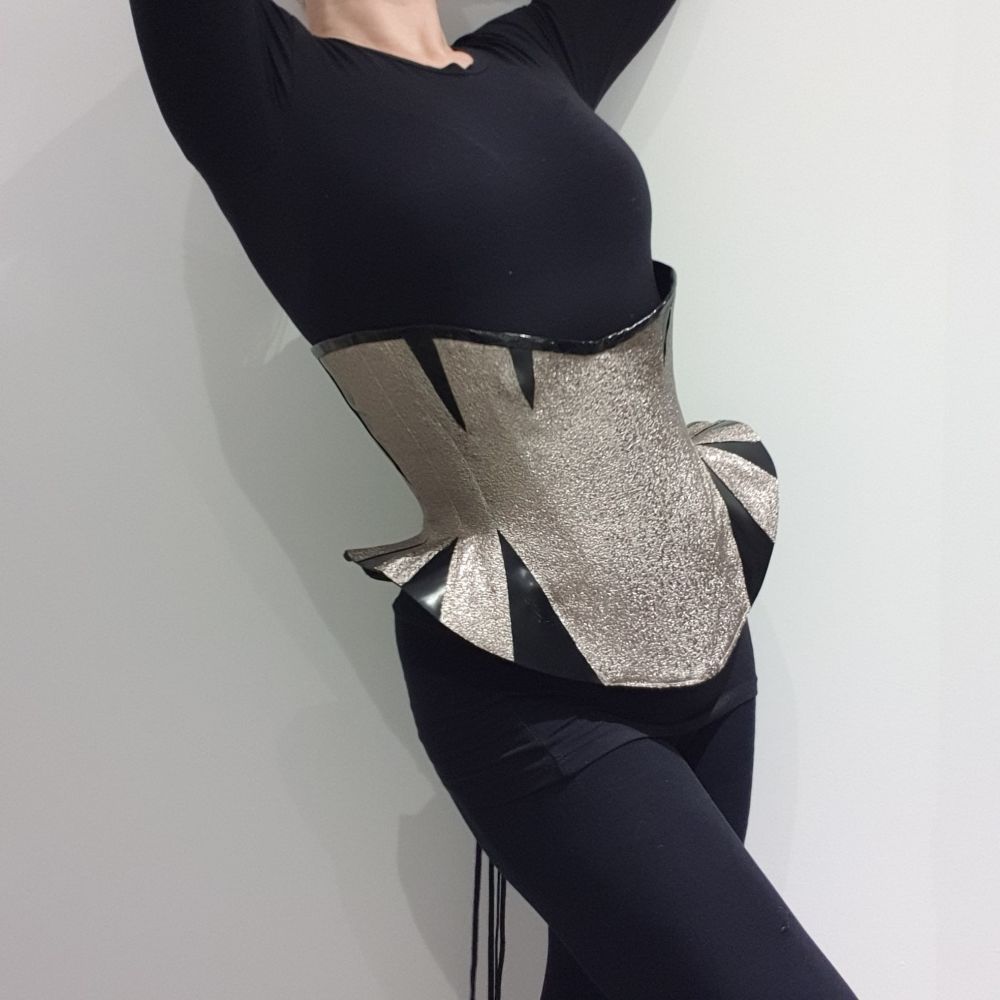
My latest corset design has only 5 panels to it! Not per side - that's in total. Horizontally panelled corsets have always intrigued me as the geometry of them is so interesting, and challenging. It's all about angling the panels in a certain way from the centre front to the centre back. Maximising the waist cinch is the biggest challenge of all - darts normally help with this but I wanted a simple, non-darted way of creating the simplest design possible.
As soon as I have finished a design I am straight on to the next one. There are two ways I begin - either straight into CAD mashing shapes together on the screen, or by draping on the mannequin. I used the latter technique to get me started with this one.
I first draped a piece of fabric around the waist mimicking a waistband and just stared at it for a while before snipping into it. I started thinking about how it could 'spring' around the ribs and hips. Snipping into it made me think about introducing a wavey top and bottom line that would help with the spring needed;
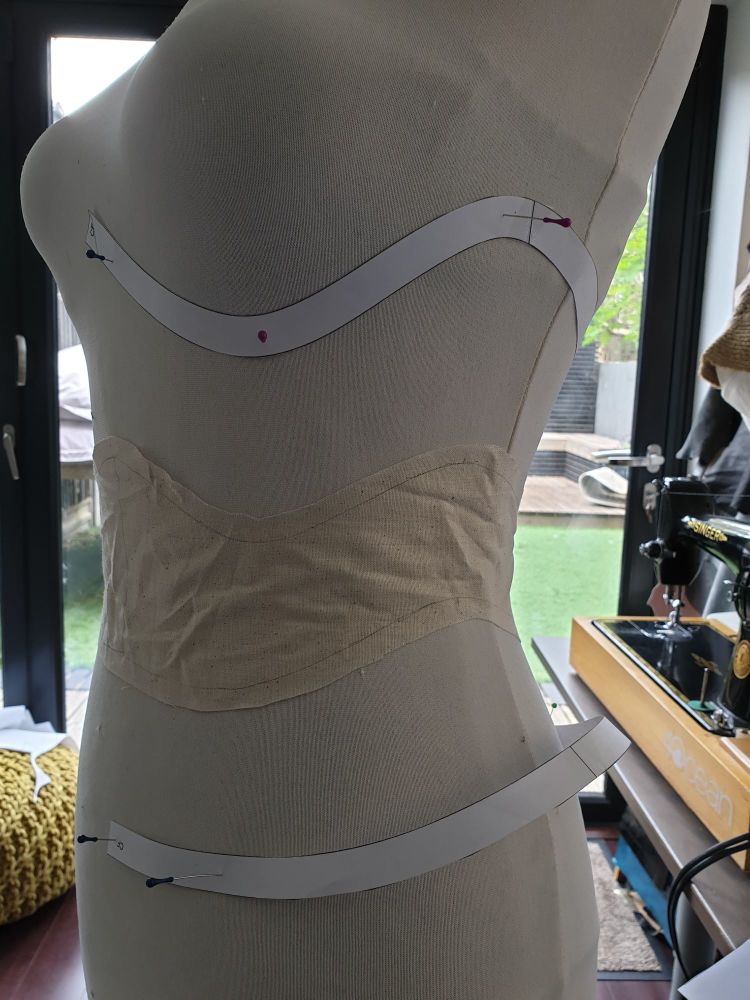
I put a strip of paper at the top and bottom and then used fabric scraps to fill in the gaps.
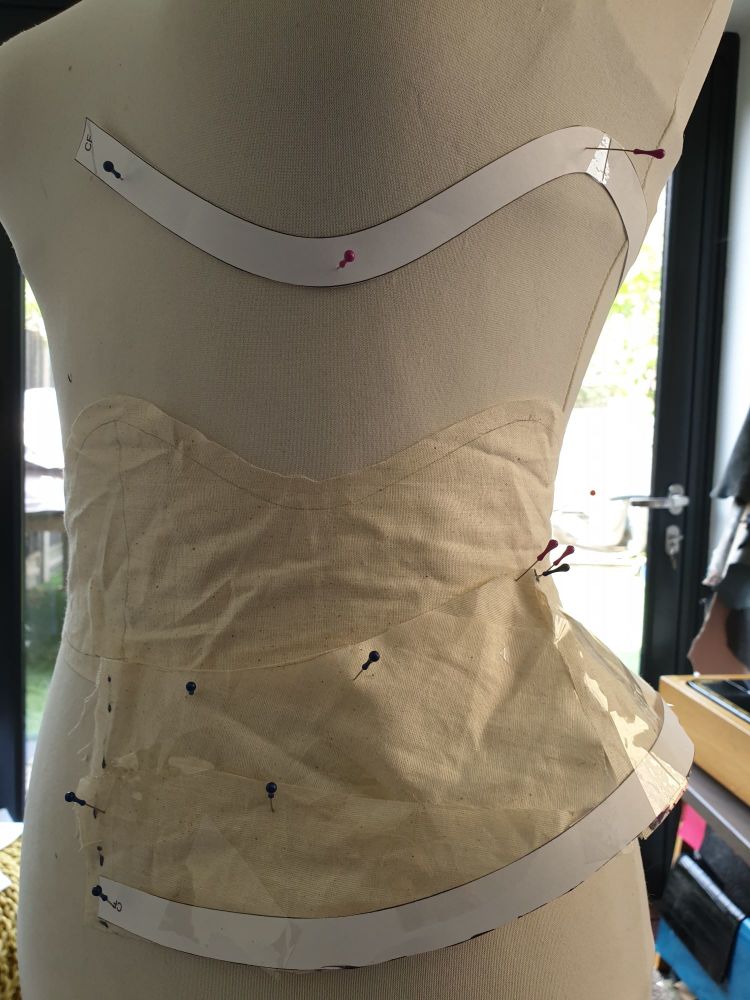
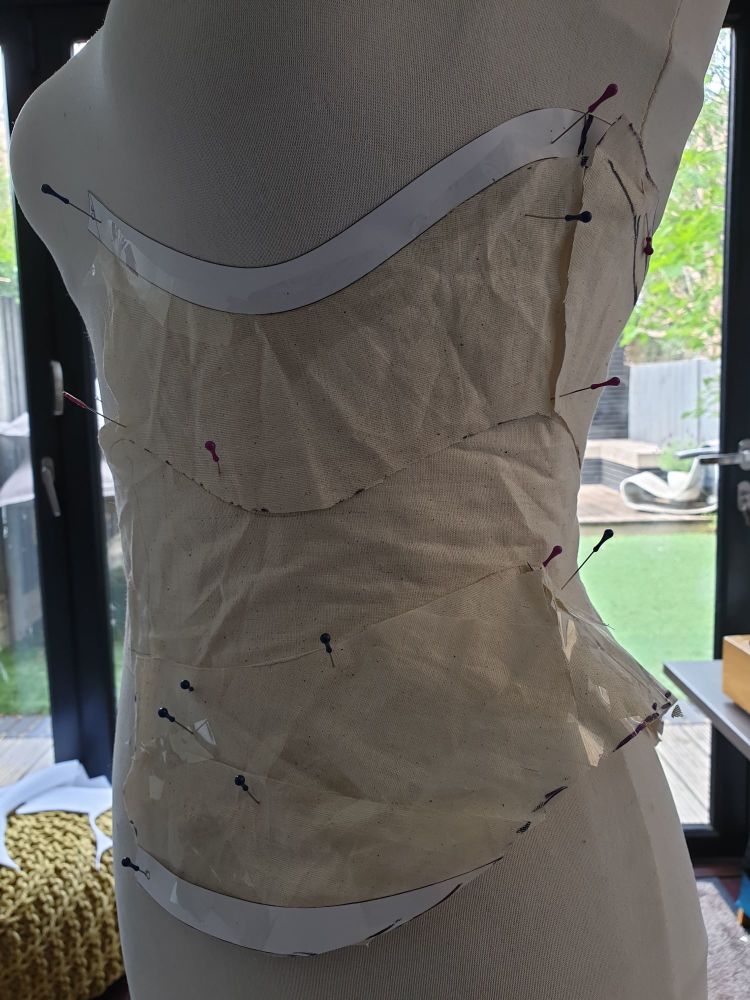
I used sellotape, fabric, paper, pins - anything I could get my hands on to render a shape that could be cut into flat pieces and scanned in to get the pattern off to a start;
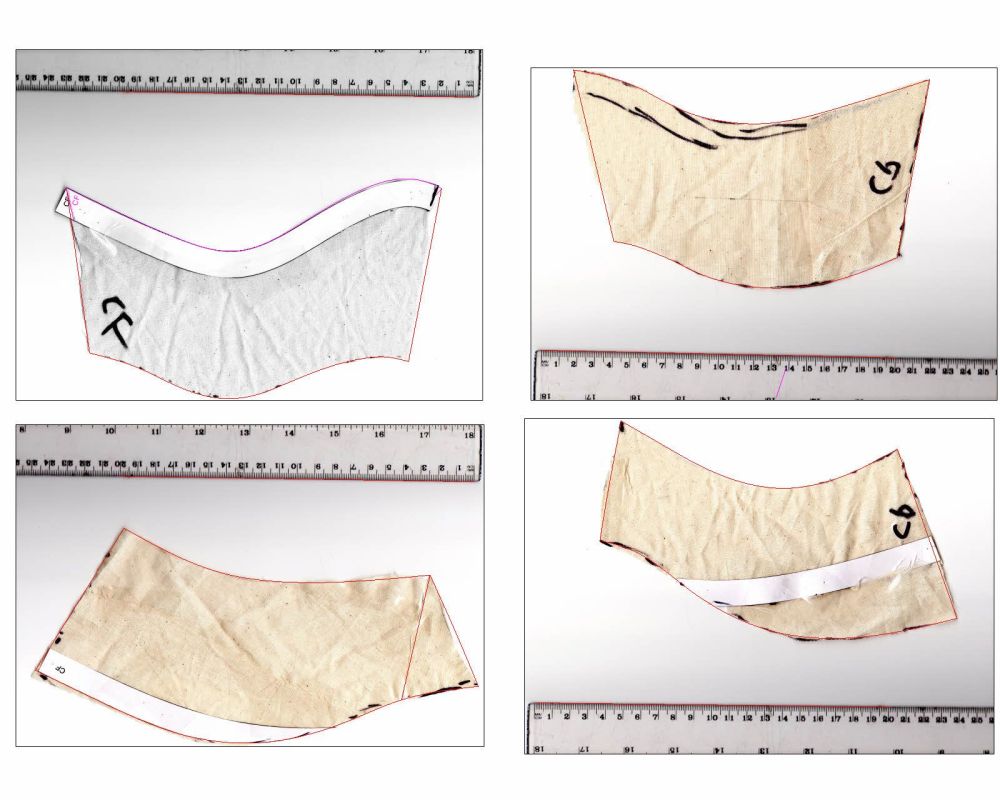
Once I have imported these scans into CAD it takes just a few minutes to trace them, scale them up, true lines and print out so I can create my first fabric toile. It looked quite promising;
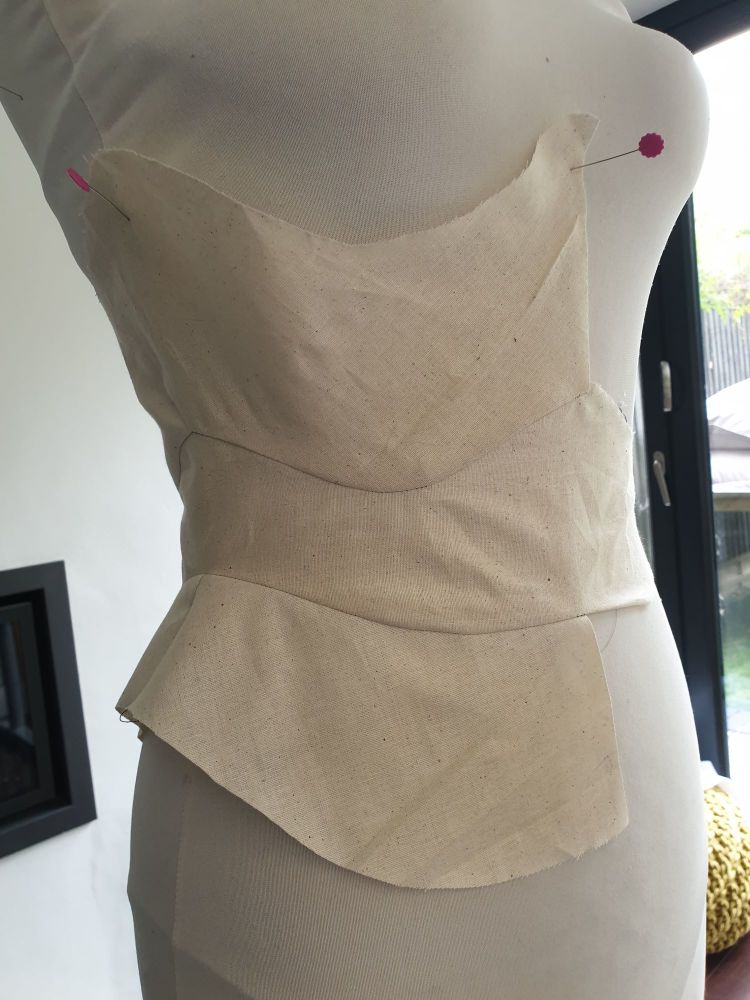
I knew that the hip panels would need to be in at least 2 sections to get the required hip curve (I actually inserted a gore to do this initially at the centre/ mid point) but I was intrigued as to whether the rib section could made in one piece. A few toiles later I had my pattern of which the conclusions were;
1. The rib section can be in one piece (but a mid seam at the toile stage is necessary for getting you to your final fit/size) if you are happy with a very straight conical shape to the ribs. Leaving the mid seam in allows a more hour-glass rib- cupping shape to be created.
2. The waistband needed slimming down a little in certain places where it seemed a little flat. The 'waves' are llike large tabs that splay and curve over the iliac crest and under the ribs.
3. I put one seam at the mid hip to create the hip curve, but a gore would give greater flexibility. The curve was slight for my physique and allowed the outer layer (which had a bit of stretch) to be made in just one layer. Essentially the outer layer was cut in just 3 panels!
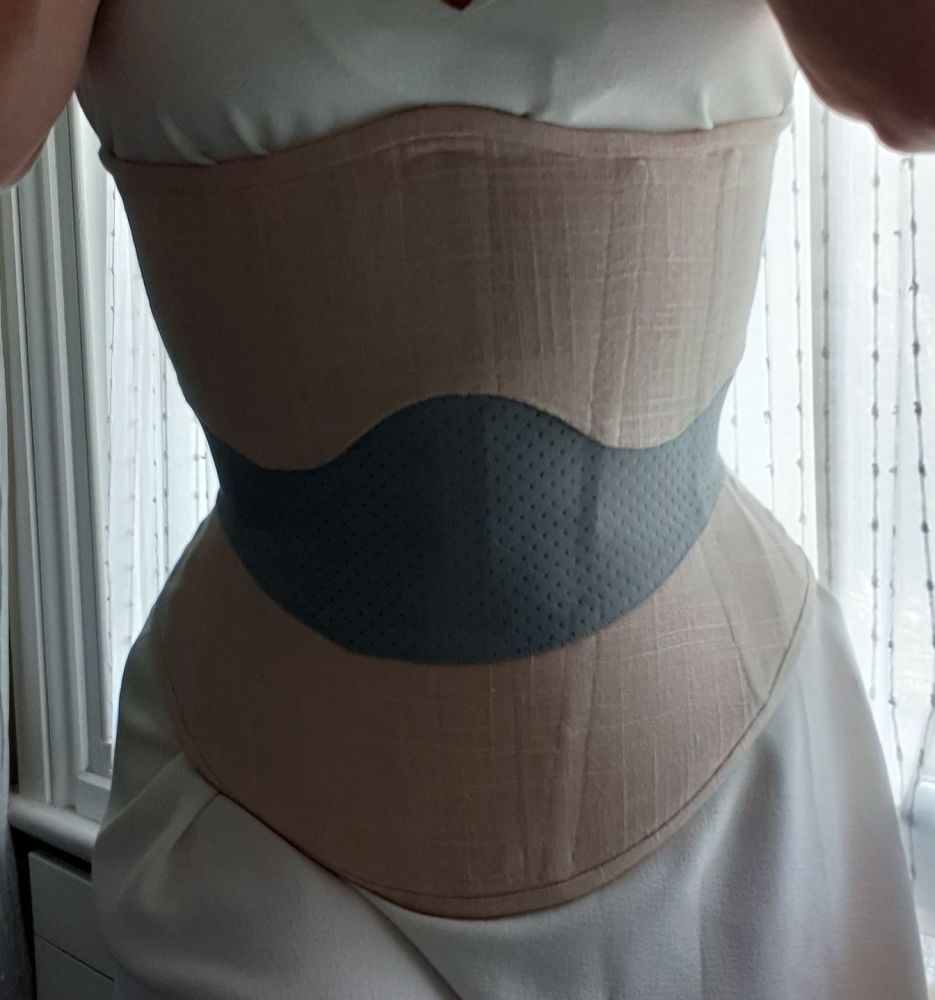
4. I split the rib section into 2 (per side) for aesthetics but this entire section can be one panel.
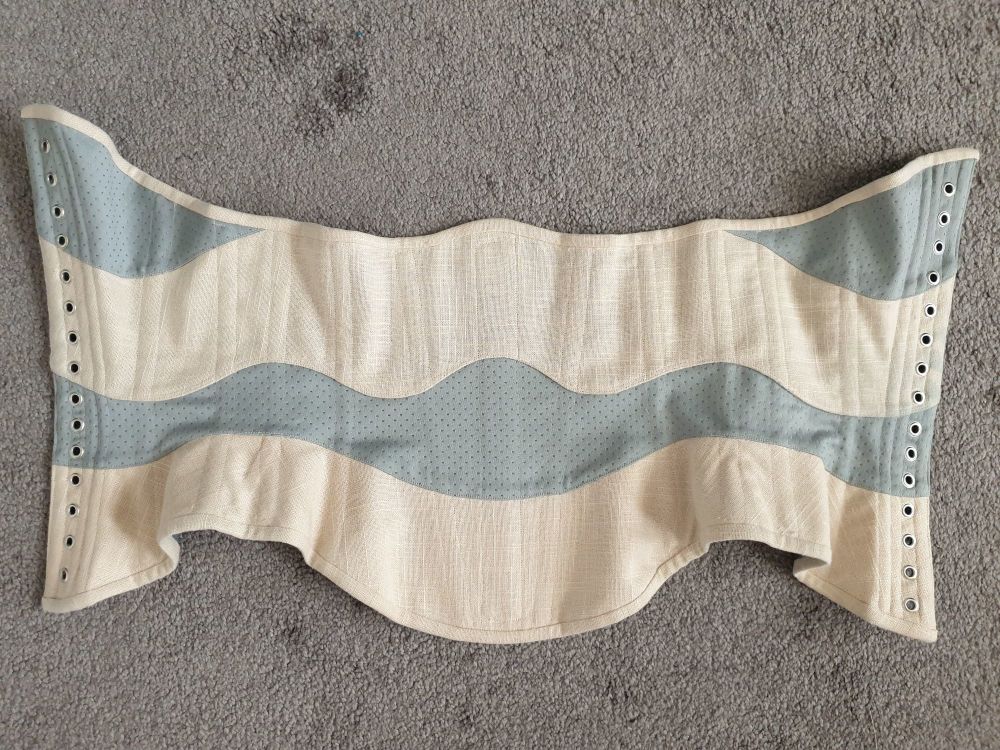
5. I tried sewing the panels together as normal but ended up fighting with the opposing curves so ended up pressing down the seam allowance on one side and top-stitching it in place instead - much easier!
This will be one of my forthcoming patterns on Patreon. It's so quick to make up!
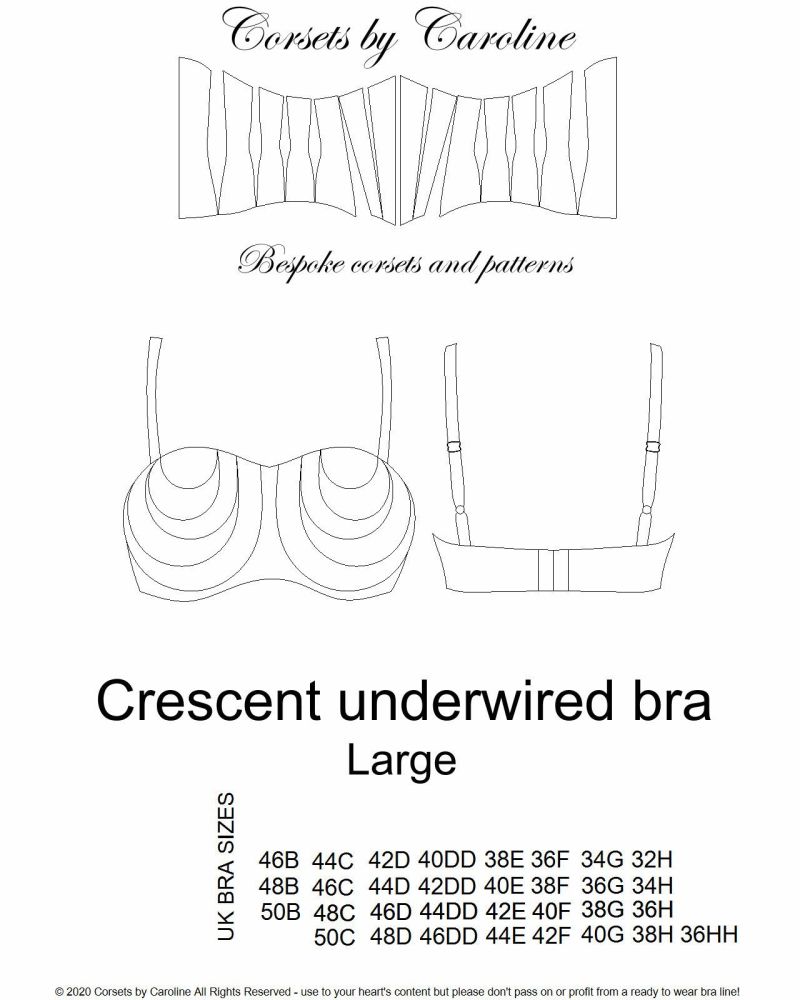
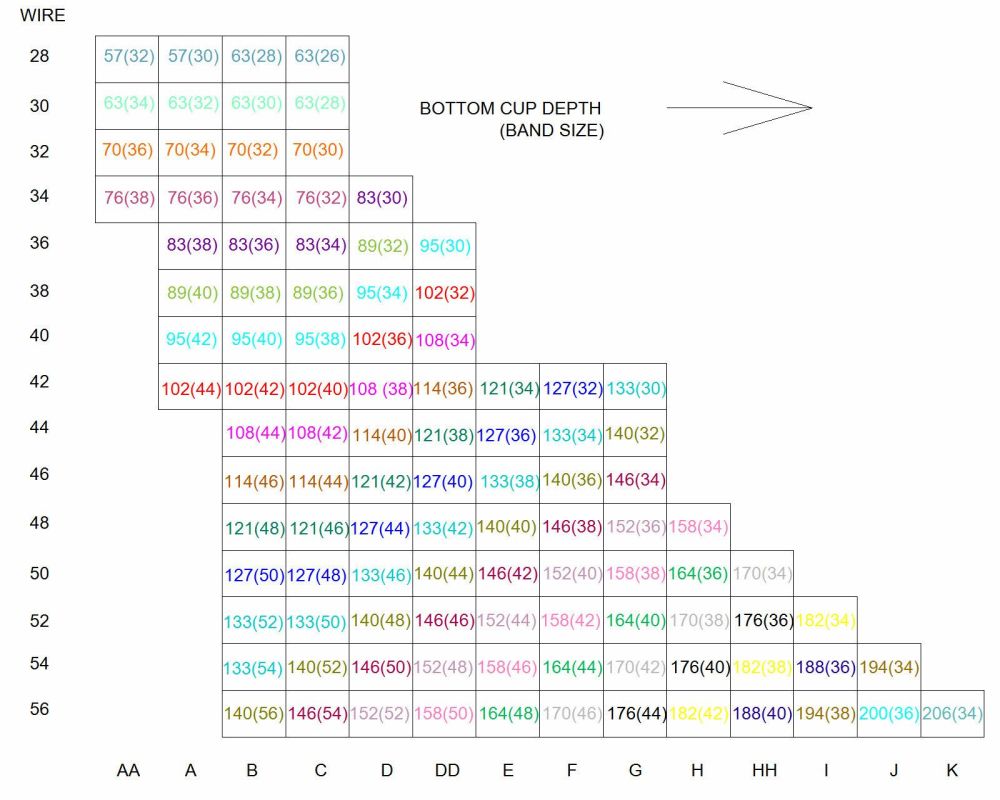 There are many more than this chart of course, especially in the small band/large cup range. I feel like I need to keep going, adding until I have the most comprehensive size range known to woman...!


