The science of corsetry and creating a perfect made-to-measure pattern (part 3)
Posted on
In this third and final part of my blog I will make up the toile from the AutoCAD pattern created from my 'corset reckoner' excel programme.
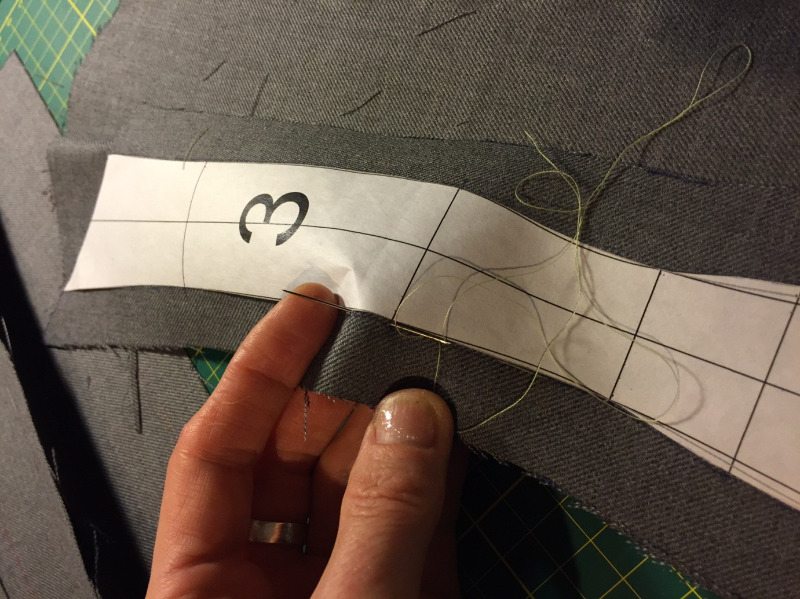
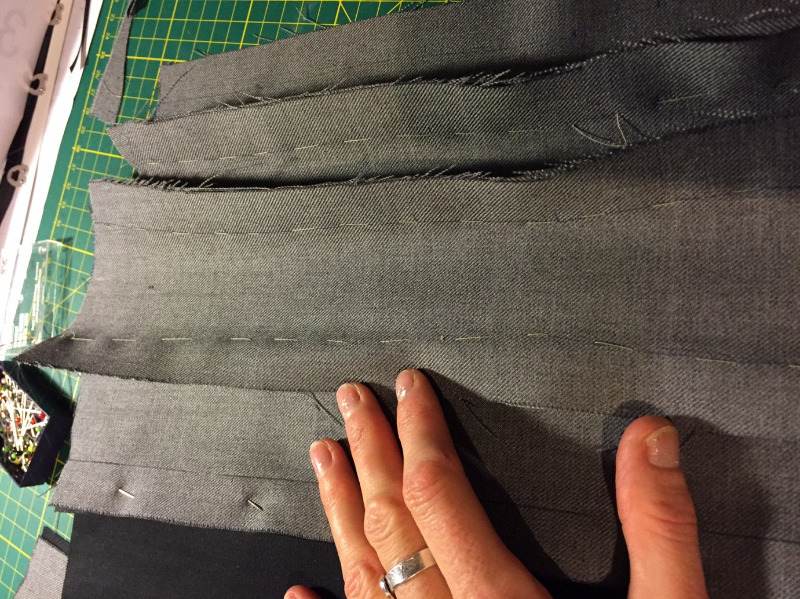
When making up the toile I was very careful with the transfer of my pattern on to fabric. This project is about testing the accuracy of the patterning process after all, and so I needed to be spot on. I printed out my pattern directly on to freezer paper, carefully cut out the pattern pieces and ironed on to the wrong side of my fabric, I added a 20mm seam allowance and then basted the pieces together along the edge of the freezer paper. I didn’t think I could possibly get more accurate than that!


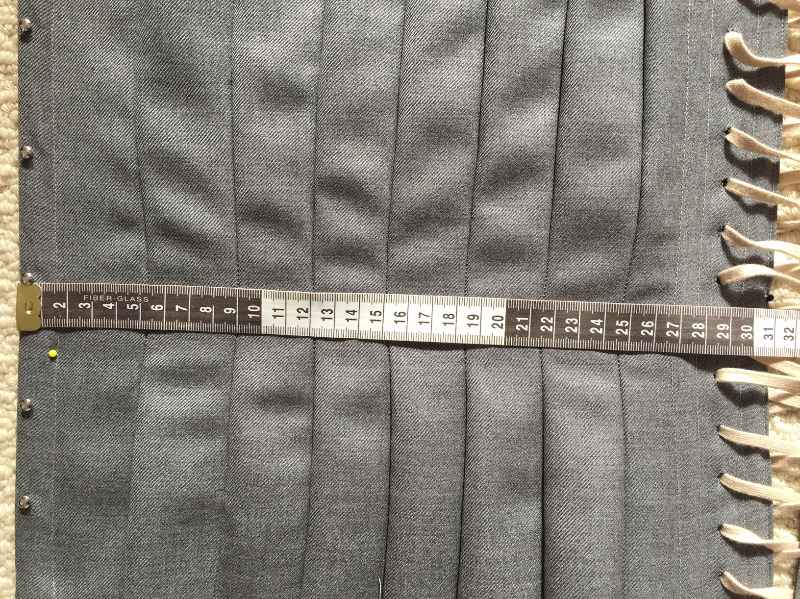
I then machine sewed all the panels together. I could see immediately that I had added far too much curve in the rib and hip areas so flattened out this ‘spring’ a little taking care to ensure I sewed to the marker points at full bust, underbust, low rib, waist and low and full hip, the intention being that I can work backwards from the sewing line and see how this can be replicated by the CAD drawing functions. I measured the waist on both sides of the corset and despite my care in sewing to the edge of the freezer paper and basting each corset together prior to stitching, each side of the corset was 1’’ bigger than my measurements. It just goes to show how, with so many panels, stitching just 1mm to the side of the drawing line makes a big difference. It’s obviously not an issue with most garments, but corsetry is about a perfect fit and attention to detail when sewing is paramount. I stitched another line 1mm to the inside of my previous stitch line and on measuring, the waist was bang on the 309mm I needed;

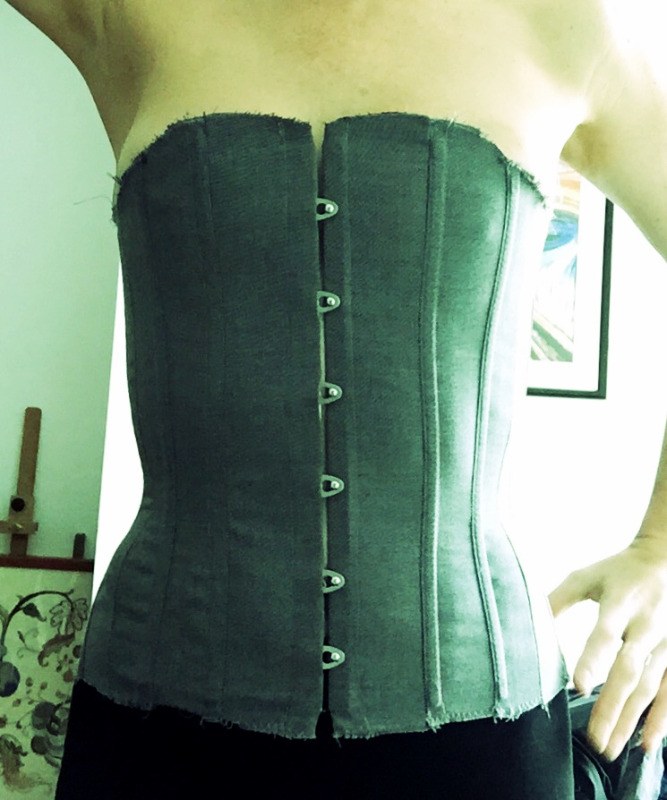
Here is the finished toile (mock up) - a basic 16 panel low line overbust with a gentle 2'' reduction;

I think if care is taken and all body measurements are exact, this is a good start for working up a toile. I might be able to get away without making a toile for an underbust but the difficult bust area will always need some adjustment at the toile stage so although this methodology has been devised to reduce adjustments as far as possible, it cannot totally eliminate this important part of building a corset where fit and comfort are paramount.
Obviously this isn’t really a methodology that would get a lot of use by professional or advanced corsetiere’s – the pattern is basic and it doesn’t allow for much organic development as say, draping on a mannequin would. However it is very quick and precise and I imagine would benefit a beginner who would love to be able to make up a toile to their exact measurements for practicing and using for future developments. When I started making corsets I found the lack of patterns on the market frustrating and was never sure my alterations were going to skew the design or look a bit odd. One other thing about this method is you always get a perfect grain-line perpendicular to the waist-line. If attention to detail is observed I think perfectly fitting corsets could come out of this. I need to test it on lots of different body shapes with a view to tweaking my formulae. I’m also keen to be more creative with the design – my next project will focus on sloping some of those front panels so they taper into the stomach, so it’s back to my excel spreadsheet to spread those millimetres around the panels in a different way. More to come!
Add a comment: