There are a lot of misconceptions in the corsetry world about body shape, padding, how corsets were worn etc. etc. Edwardian corsetry particularly seems to elicit comments from makers who have absorbed information through modern blogs and Facebook groups, but might not have got their facts completely right.
I'm not an expert by any stretch of the imagination but when I see text from people who have been in the business for a long time, and have had a direct line to the Edwardians because of their age and particular circumstances, I jump on it!
The following is information I have gleaned from one such expert, and I thought I would summarise here. The 'expert' worked from extant patterns and documentation, including a great deal of first-hand writing done by women, for women, in the 1900-1915 era.
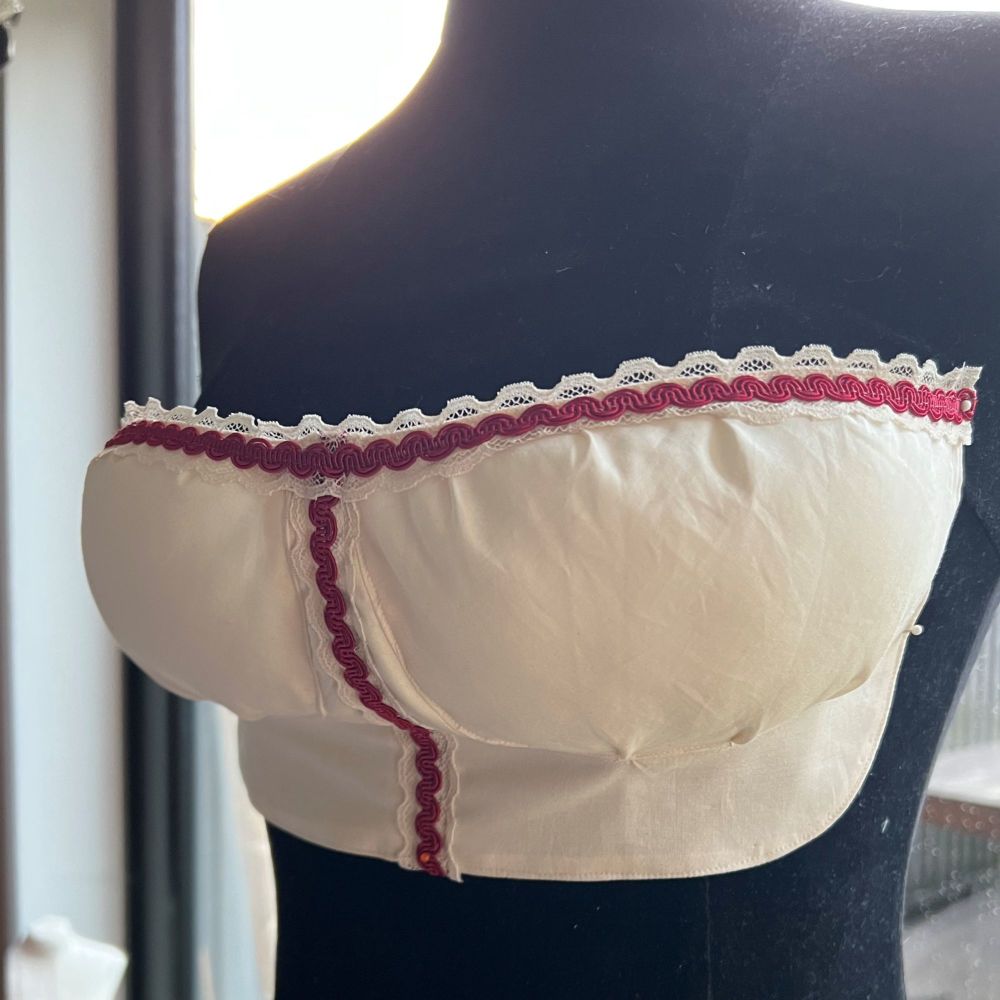
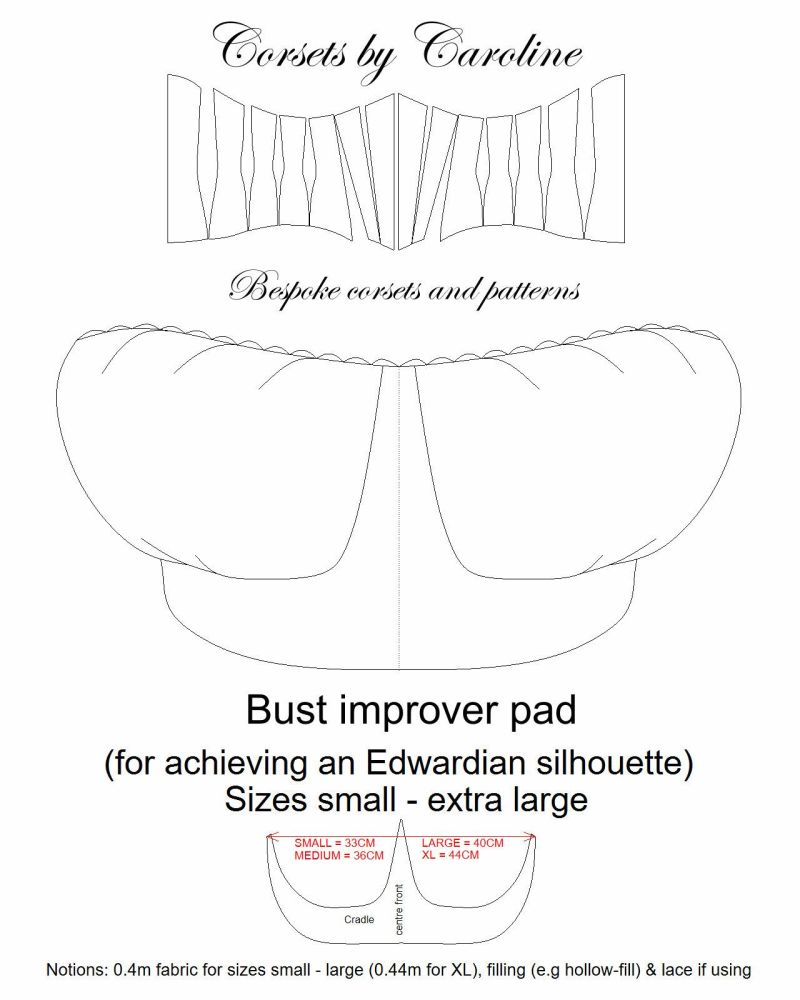
1. Artifice was employed where nature failed (i.e. in bust padding, additional ruffles on corset-covers, etc.), and the undergarments, smoothed through the front and gathered and fastened at back, heightened the visual effect of the proportion between the derrière and the waist, which helped the illusion along.
2. Bodies of women in general were less developed, both in bone structure and musculature, than is the case today. This is partly due to a more nutritious diet (especially since the post-WWII era), and partly due to the fact that girls were put into corsets almost from infancy, both to mould the body and to accustom girls to having their torsos constricted.
3. The “average size” French pattern of this era assumed a woman with a natural bust measurement of about 35″ to 36″, waist of 24″ to 25″ and hip of 37″ to 38″. In the finished garment itself, the measurements are closer to bust: 37″, waist: 26″ to 27″ and hip 38″ to 40″, clearly allowing a bit of accommodation for illusory padding. The finished (outer) garment sizes also had to allow for 4 to 5 layers of lingerie, including the corset, underneath. This meant that the corset had not only to compensate for its own addition to waist thickness, but had to compress the waist down by 2 or 3 additional inches in order to compensate for the multiple layers of garment thicknesses.
4. It would not have been unusual for a young woman to achieve a corseted waist of 21-22″ before donning the rest of her lingerie and outer clothing. This was completely achievable for an average young woman with less developed musculature and smaller bones than is the average today. Many middle-aged women too, having been “compressed” for decades on a daily basis, tightened up their corsets even further for special occasions in an attempt to revisit that ideal figure.
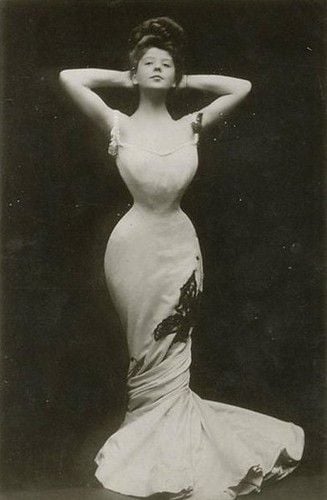
5. As far as posture in a corset is concerned, the straight-front corset of the ca. 1902-1915 time period did indeed thrust the body into a somewhat artificial stance, although for the average woman this was not as extreme as in some professional fashion photographs of the time would lead one to believe; these were bodies accustomed to fashionable moulding.
6. Photographs of women in their corsets during the era were intended for only one of two purposes: either “naughty” images to titillate, or images designed to sell corsetry. In the latter case, the model’s stance was often exaggerated for maximum effect, and/or the waist area retouched to make it appear even smaller. This is why relying on photographs, as opposed to first hand accounts and articles by women themselves of the time can be deceiving.
7. Exaggerated hip width and hip padding was not a feature of Edwardian corsetry. A corset of ca. 1905-10 was intended to create a straight line at front, but fall smoothly and evenly over the hips, while gently forcing a slightly forward stance. This naturally had the effect of pushing the hips and derrière outward, and the layers of chemise, drawers and petticoat underneath did the rest to add volume to the hips and accent the whole silhouette.
8. The corset should be supporting and lifting the bust upward from below, rather than sitting in the natural dip (under-bust) creating the fashionable “uni-bust” shape of the time.
Personally, my main takeaway from this account is that the hip spring in corsets of the Edwardian era was quite substantial because women had smaller waists due to corseting from an early age, and the bulk in the hip area was 'filled' by the fabric undergarments rather than padding. Padding is used by modern wearers who may not have the required hip spring nor wear the corset with multiple layers in a historically accurate way.
What do you think? Are you an expert in Edwardian corsetry and have a different opinion? Would love to hear!


