Stays (1770's- Rococo)
Posted on
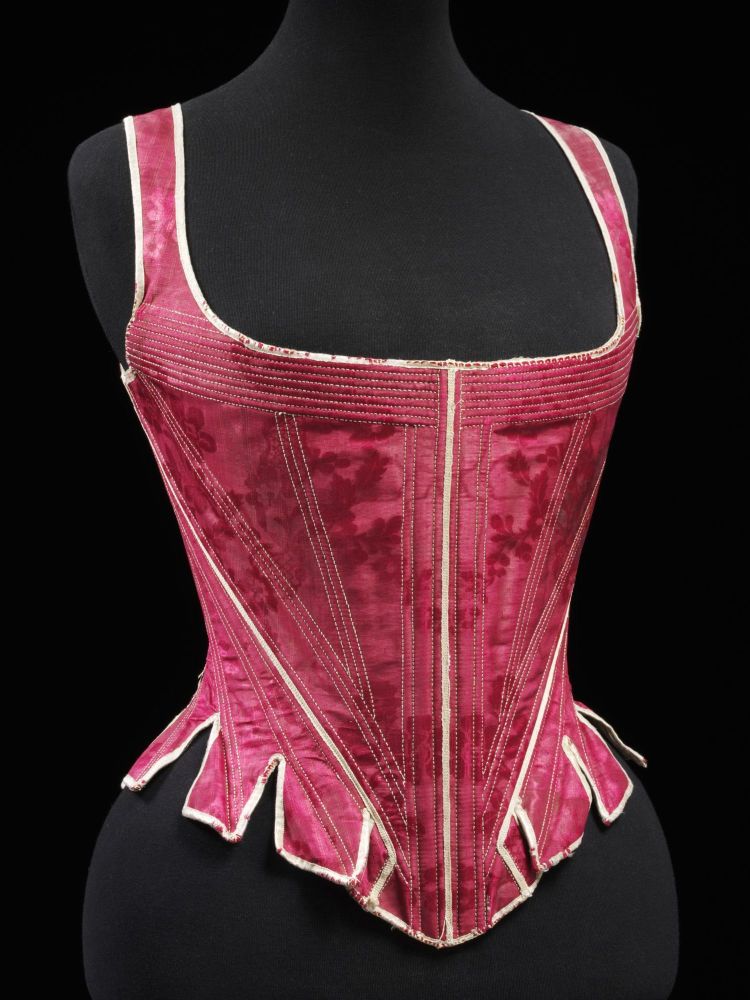
I absolutely love these V&A stays dated from the 1770's;

© Victoria and Albert Museum, London
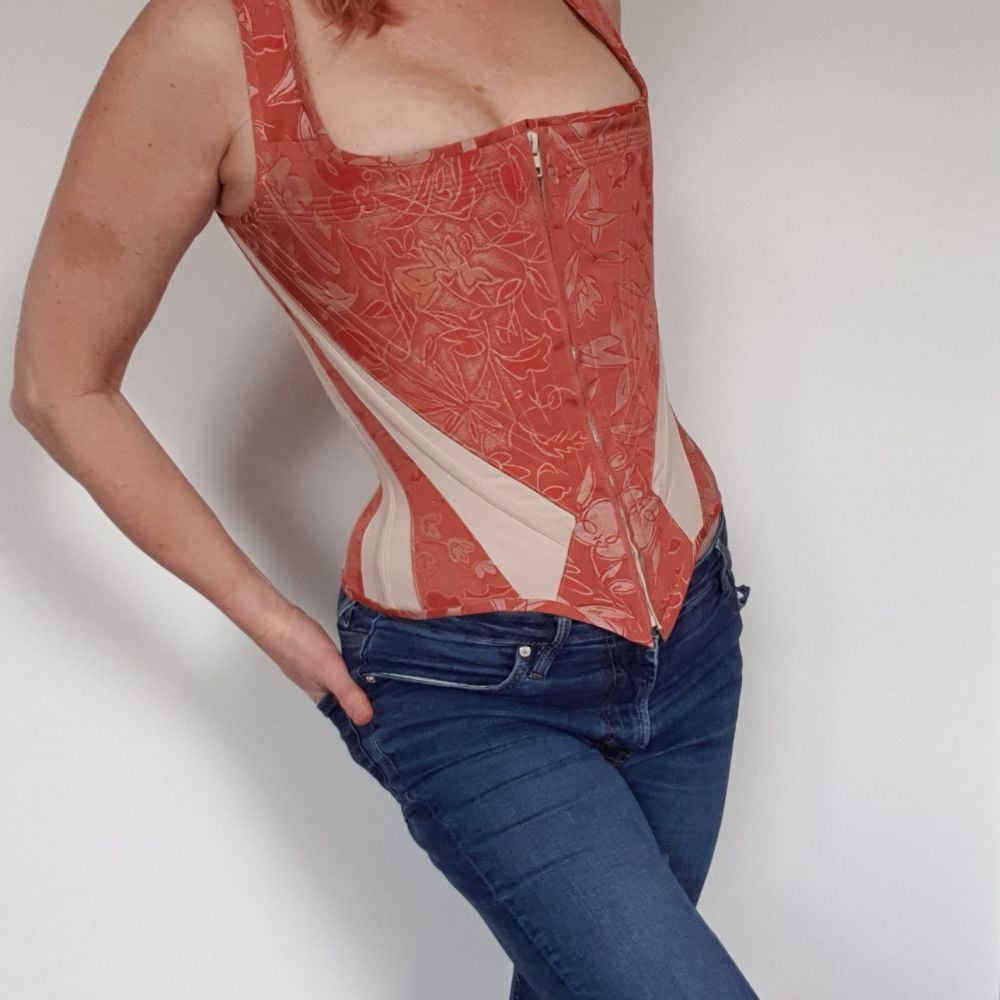
I have used them for inspiration for my next design which is a completely modern version;

I thought I would list the differences (read as 'what should have done/ what didn't do!');
- In the Rococo period (mid eighteenth century) the skirt (also known as tabs) are separate and splay out over the skirts. I fused and shaped mine over the hip.
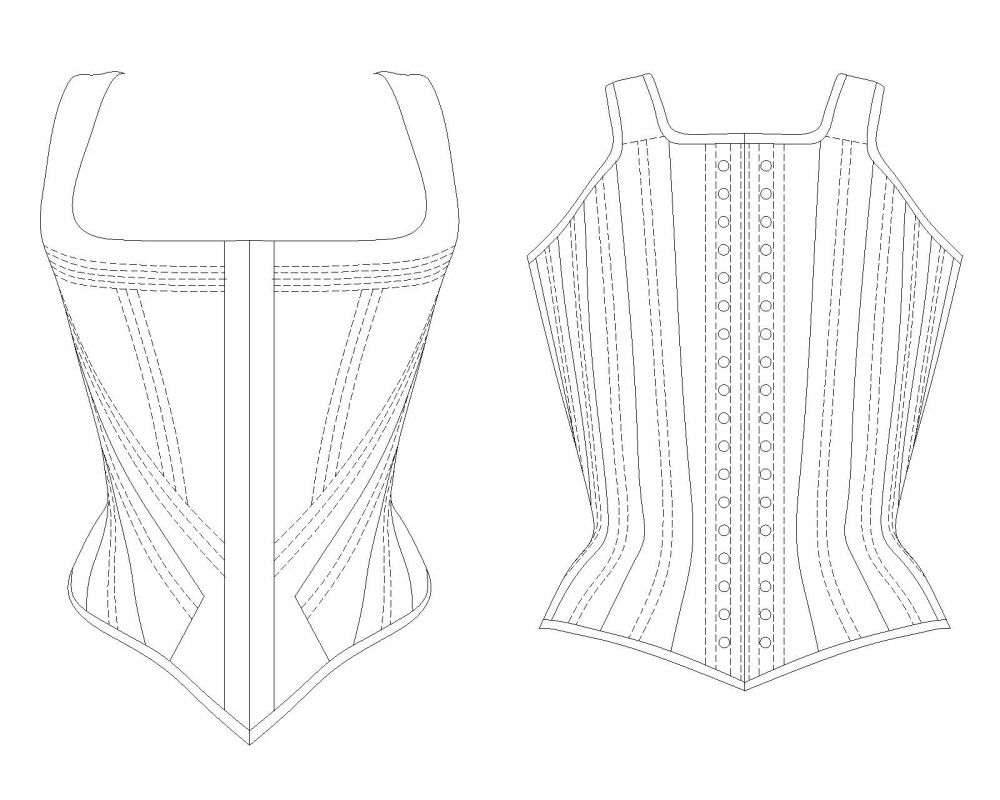
- Original stays were usually 4 panels - I drafted the front and back panels to be very similar to the V&A example, but split the two centre panels into 6 so that if the skirt was to splay, each 'tab' would be an individual panel. My belief was that binding would be easier as each tab could be bound separately with the binding sewn into the seam. As I eventually sewed my skirt together I didn't test this binding technique.
- Historical stays were at least 3 layers with extra strenghened areas at the belly (often with added paper) and along the waist and top. Rabbit skin glue on canvas and linen strips were used for this purpose. Mine were 3 layers where the silk fabric panels were placed, and two elsewhere. I didn't add any extra strength panels. The order of fabric for historically accurate stays are 1) top layer, 2) densely woven thin linen canvas, 3) bones, 4) heavier linen, 5) lining.
- The horizontal channels at the top of the front panel would have been thin strips of whalebone. I used cording for mine.
- A 'bust rail' of metal or whalebone at the top of the front panel was used to give strength and shape. I didn't insert one in mine.
- The panels in historical stays were whip-stitched together, the front and side front, the back and side back, and then joined at the middle. Each panel would have been boned before being joined together. I sewed mine front to back with a sewing machine and then inserted the bones afterwards.
- The bones are angled centrally into the skirt tabs on historical corsets. I used 6mm x 1mm synthetic whalebone and angled them correctly however the amount of boning I used was much less.
- Eyelets were awled and worked by hand. I inserted metal eyelets. Eyelets were not worked through the lining - the lining was added afterwards and felled to the stays to enable them to be changed at a later date when dirty. I did conform to this!
- Lacing of historical stays was of the spiral configuration with offset eyelets at the top and bottom - I laced mine in the later Victorian/modern configuration with bunny ears at the waist.
- Binding would have been with a wool twill tape or grossgrain ribbon, never bias tape and with the selvedge on the right side /flipped over and stitched to the wrong side . I used some bias tape on the tricky curved bits, and on-grain tape on the not so tricky bits.
- A singular wooden busk was sewn into a pocket at the Centre Front (and could be removed). I inserted two standard bones on each side of a zip at the CF. My front piece was obviously split in two - totally and utterly non-historical!
- The lining (linen) was normally added in two main panels with the skirts being lined spearately. I used linen fabric cut in 3 panels per side.
- Historical stays did not have a lacing gap. I didn't intend on a lacing gap - but mine came up a bit small, so there was about a 1.5'' gap in the end.
- The stays were steam-pressed into shape. I steam-pressed the life out of mine to give bust shaping and cuve the top of the back panels into the shoulder.

Add a comment: