Caroline's corset blog

Musings and progress from Caroline - projects she's working on, tips and tricks, and thoughts on corsetry

 RSS Feed

Category: Foundations Revealed Comp 2015

  1. E Hume 1913 challenge - part 3 of the Foundations Revealed 2015 competition (final stage)

    Posted on

    Waists are a negligible quantity

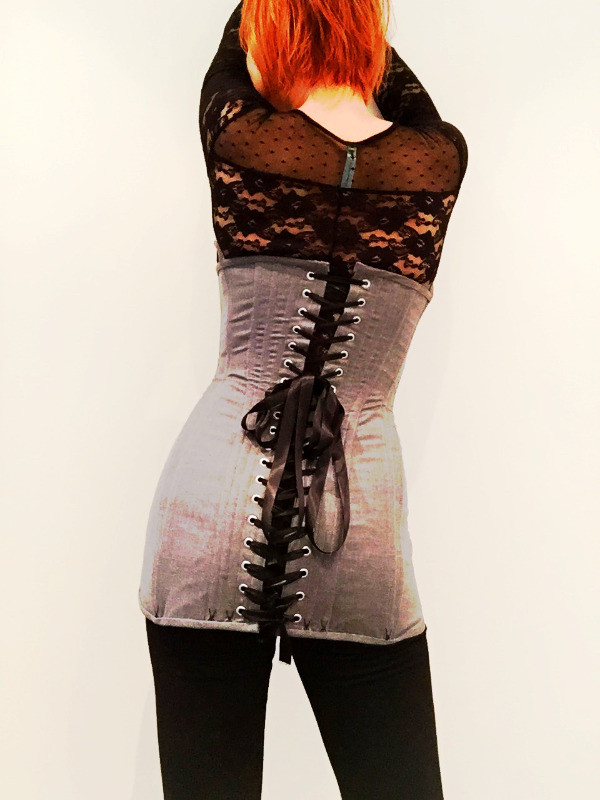
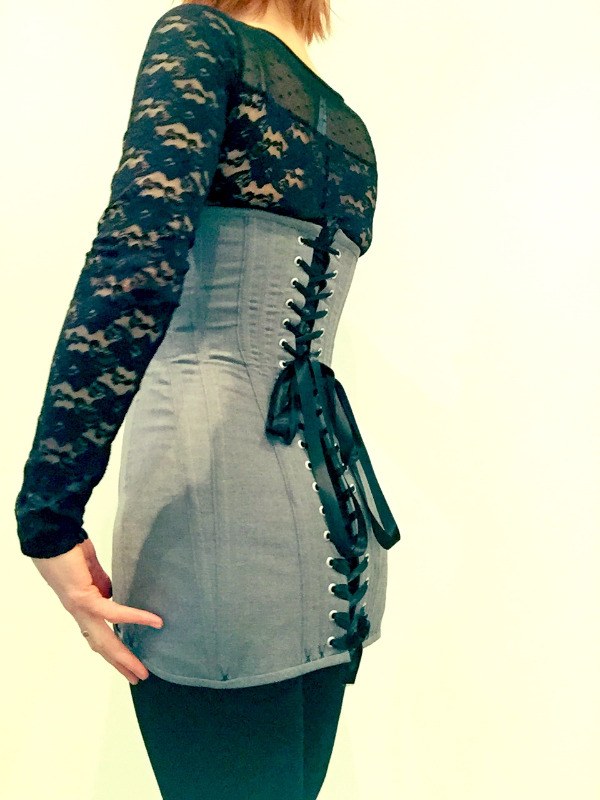
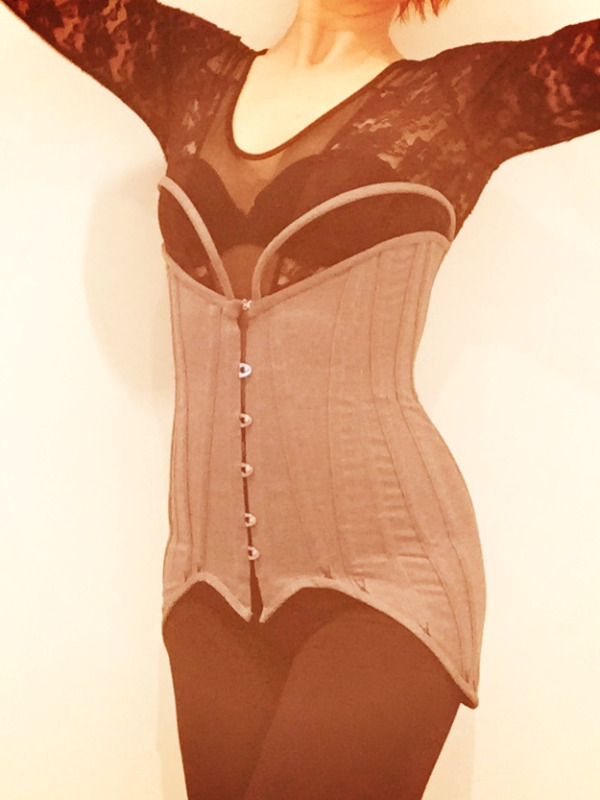
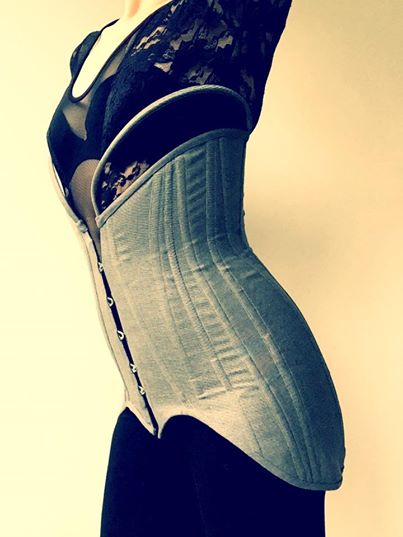
    In this final part of my blog on the E Hume 1913 patent I will make up the final garment using a coutil base layer and 100% wool fashion layer using the fabric-turned-over-fabric technique. You can the beautiful lines coming together in this photo;
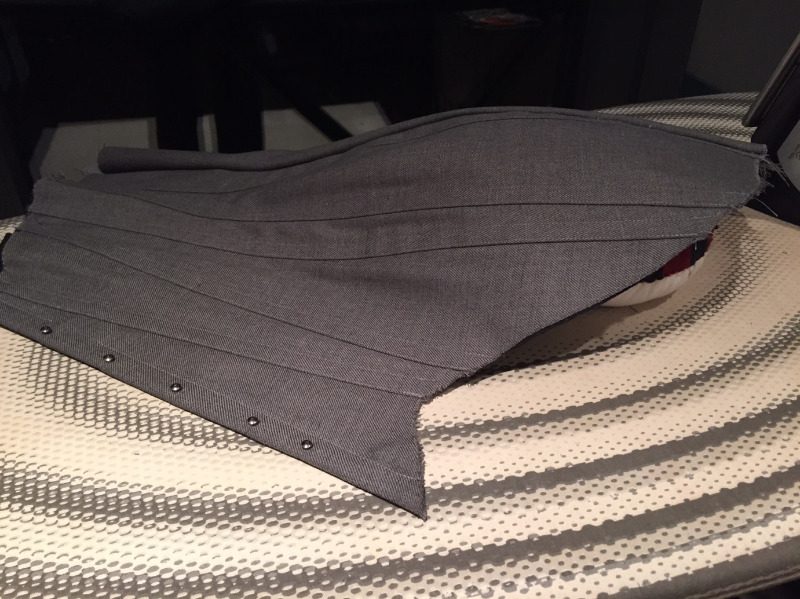
    pic 10

    The final garment was a good fit but I didn’t like the crease created when siting down in it so I slipped in some plastic boning in front of the steel boning but made sure it extended all the way to the bottom of the corset. It really helped reduce the unsightly crease line. I also inserted some synthetic whalebone behind the busk and curved this around my breast area and into one of the boning chnnels at the side to give the garment a modern twist. I covered this with a tube of fabric to match and made up the bias binding to bind the corset.It was a bit trickier binding the corset as I had to circumvent the synthetic whalebone addition!
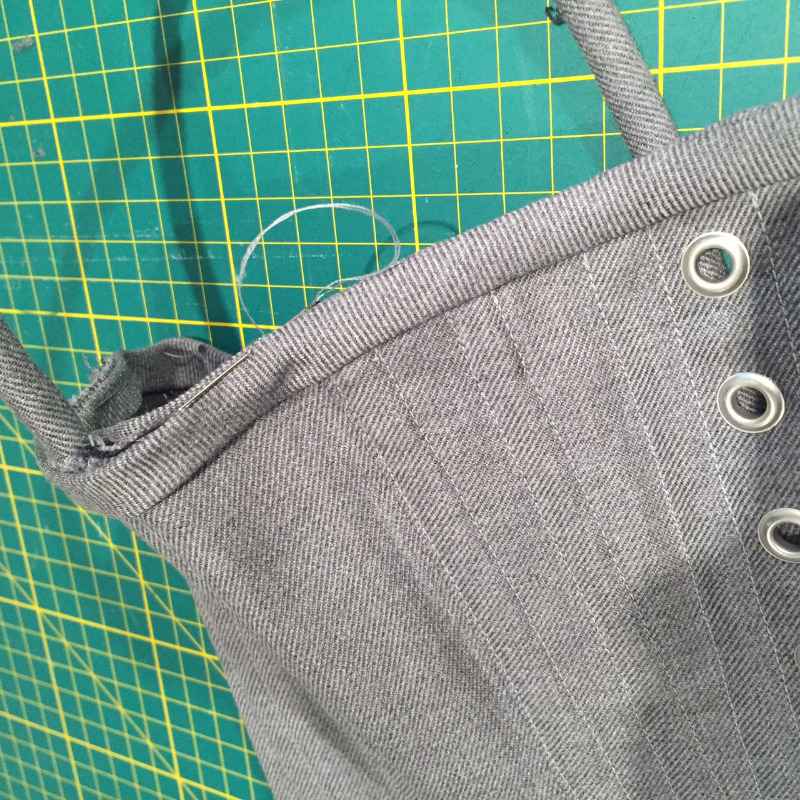
    pic 15

    A final bit of flossing at the bottom of the boning channels completed the corset.
    pic 11 pic 12

    pic 13 pic 14

    I was concerned about the lack of waist definition but on doing some research it transpires that in Feb 1919 ‘’waists are a negligible quantity; there is rarely a suggestion of one, and most new models are cut on straight lines’’. Even when E. Hume initially drafted this patent in 1913, corsets were already elongated and had a ‘straightness of line’ – it’s a perfect shape for my non-curvy body and it was nice to be able to fit this type of corset well.
  2. E Hume 1913 challenge - part 2 of the Foundations Revealed 2015 competition (toile stage)

    Posted on

    Waists are a negligible quantity

    In part one I concentrated on the technical stuff- drafting the pattern in AutoCAD from the pdf supplied by Foundations Revealed. Now I'll make up the toile to check the fit of the corset.

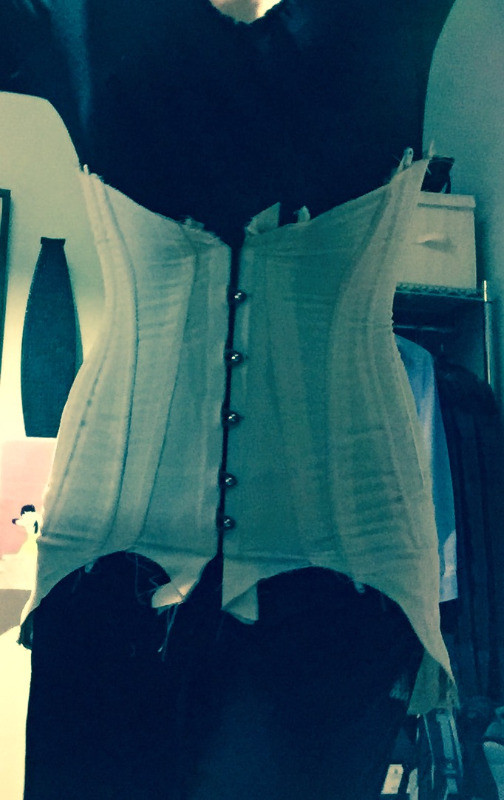
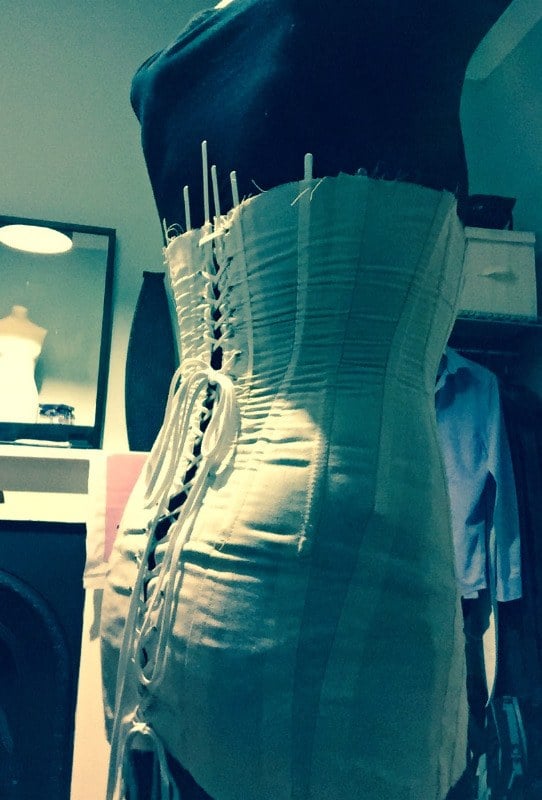
    I made up the first toile and amended the fit slightly. It was very low at the font on me – coming only as high as the bottom of my ribcage. I loved the long-line fit. I decided I would make up the corset to this shape but modernise the design somehow. I wanted to be able to see the original shape as Elizabeth Hume intended, but to modernise it to such an extent that I would be able to wear it as an outer garment without suspenders.

    At the first toile stage I marked the waist proper and indicated where the boning would extend to. Obviously to allow the wearer to sit the bones can only extend as far as a standard corset. Here are the photos of my first toile;

    pic 7 pic 8

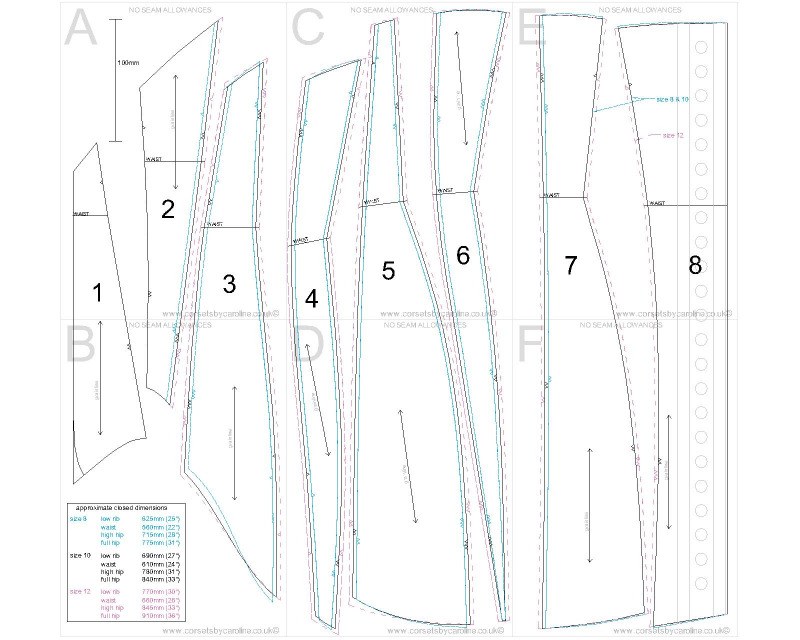
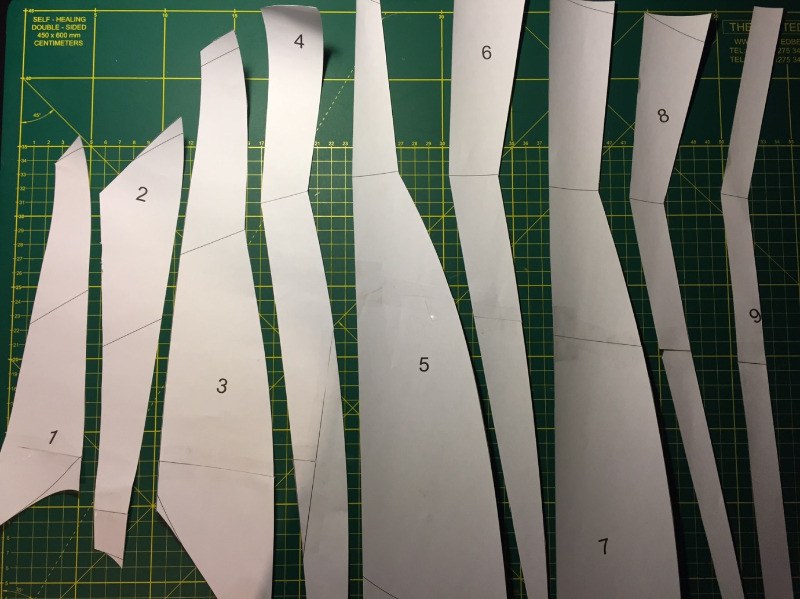
    I then made the changes to my AutoCAD pattern. Not strictly true to the original but I didn’t like the odd kink to the rear panels 7 & 8 so I amalgamated these and widened sufficiently to allow for the hardware. Here is the second version of my AutoCAD pattern after the first toile, now incorporating three sizes. I made mine to size 10.

    pic 9

    In the next part I will make up the final garment using a base layer of coutil and a 100% wool fashion layer.


  3. E Hume 1913 challenge - part 1 of the Foundations Revealed 2015 competition (drafting)

    Posted on

    Waists are a negligible quantity

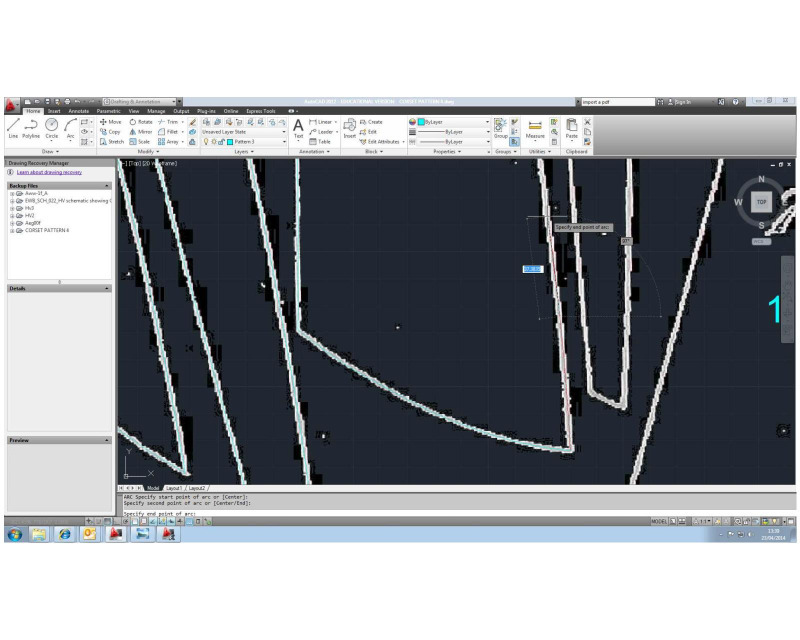
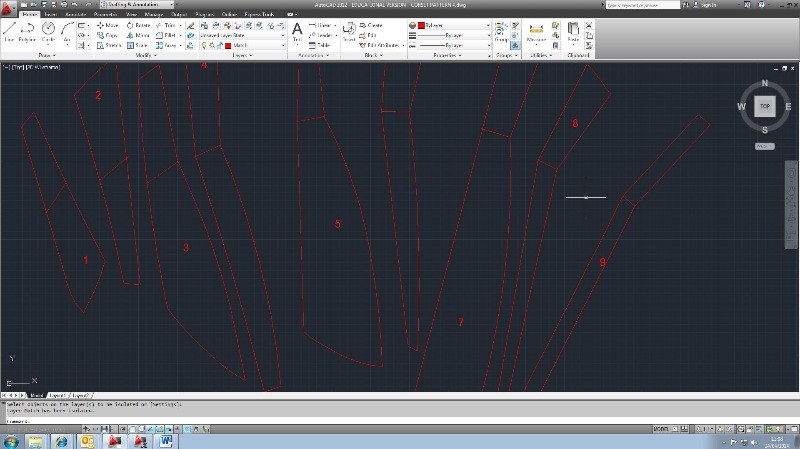
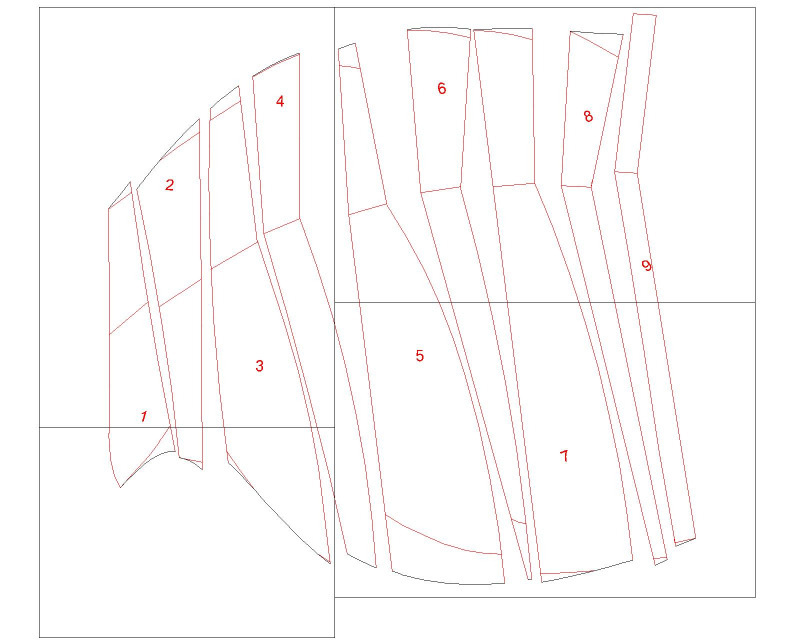
    Armed with my pdf courtesy of Foundations Revealed the first part to my project was to digitise it in AutoCAD so I could play about with the scaling and fit. I therefore imported the pdf file as an ‘x’ reference and  traced the lines;

    pic 1

    pic 2

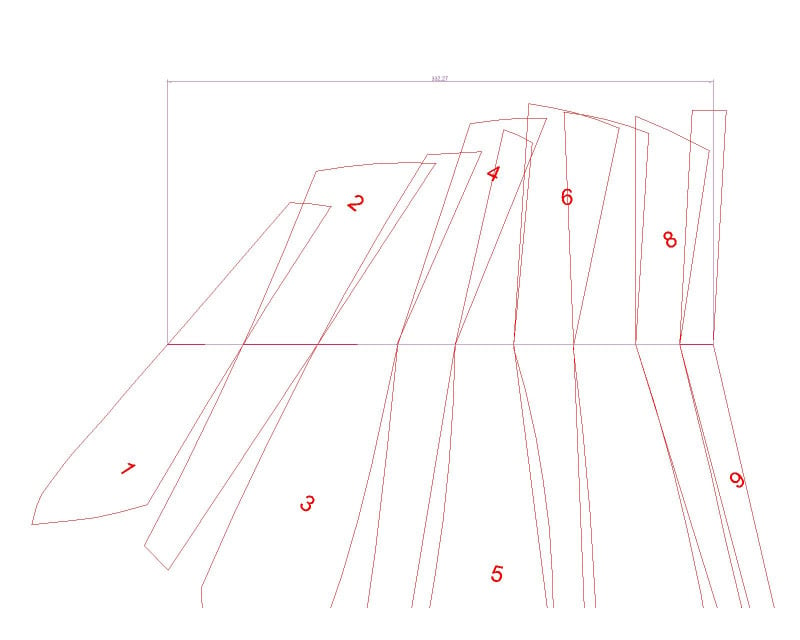
    I oriented the panels so they lined up at the waist so I could get an idea of the measurement – I wanted about a 3 ‘’ reduction on 27’’ so I scaled the panels accordingly allowing for a small gap at the back.

    pic 3

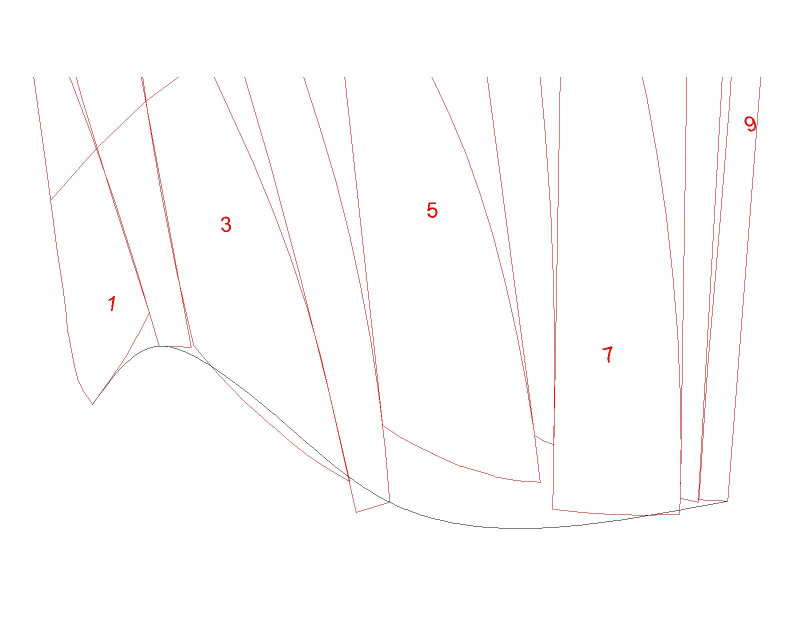
    Once I was happy with the size I rotated each panel against each other to check the vertical distances. There were some strange things going on with the original pattern – it didn’t look like they fitted together at-all so I curved new bottom and top lines and extended or trimmed each panel as necessary.

    pic 4

    Here are the panels ready for printing;

    pic 5

    The waist line also looked off but I figured I could amend that at the toile stage.

    pic 6

    In part 2 I will make up the toile!