Caroline's corset blog

Musings and progress from Caroline - projects she's working on, tips and tricks, and thoughts on corsetry

 RSS Feed

Category: What I'm up to

  1. The inspiration behind my latest design

    Posted on

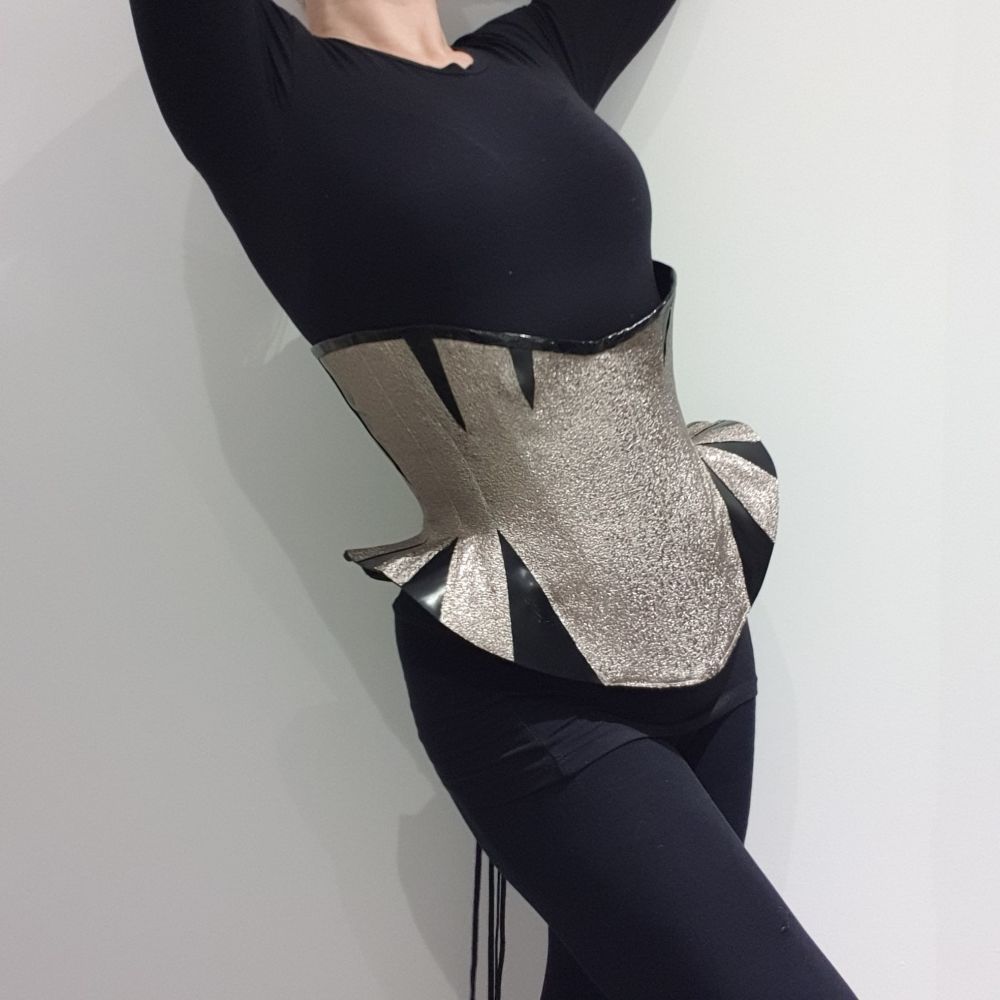
    My latest corset design has only 5 panels to it! Not per side - that's in total. Horizontally panelled corsets have always intrigued me as the geometry of them is so interesting, and challenging. It's all about angling the panels in a certain way from the centre front to the centre back. Maximising the waist cinch is the biggest challenge of all - darts normally help with this but I wanted a simple, non-darted way of creating the simplest design possible.

    As soon as I have finished a design I am straight on to the next one. There are two ways I begin - either straight into CAD mashing shapes together on the screen, or by draping on the mannequin. I used the latter technique to get me started with this one.

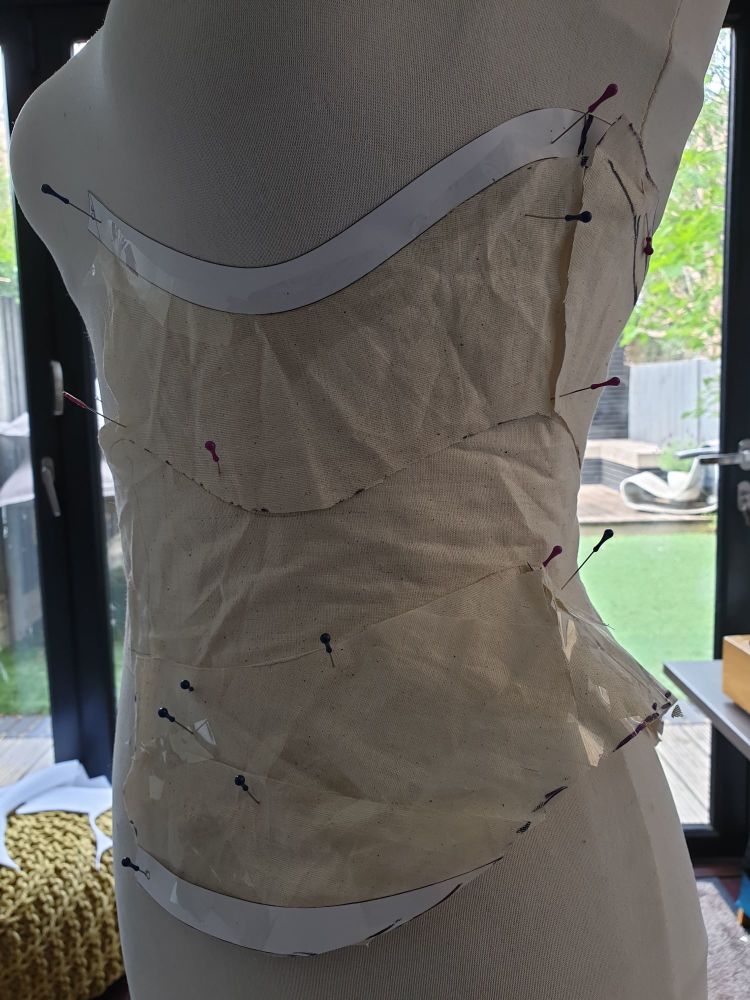
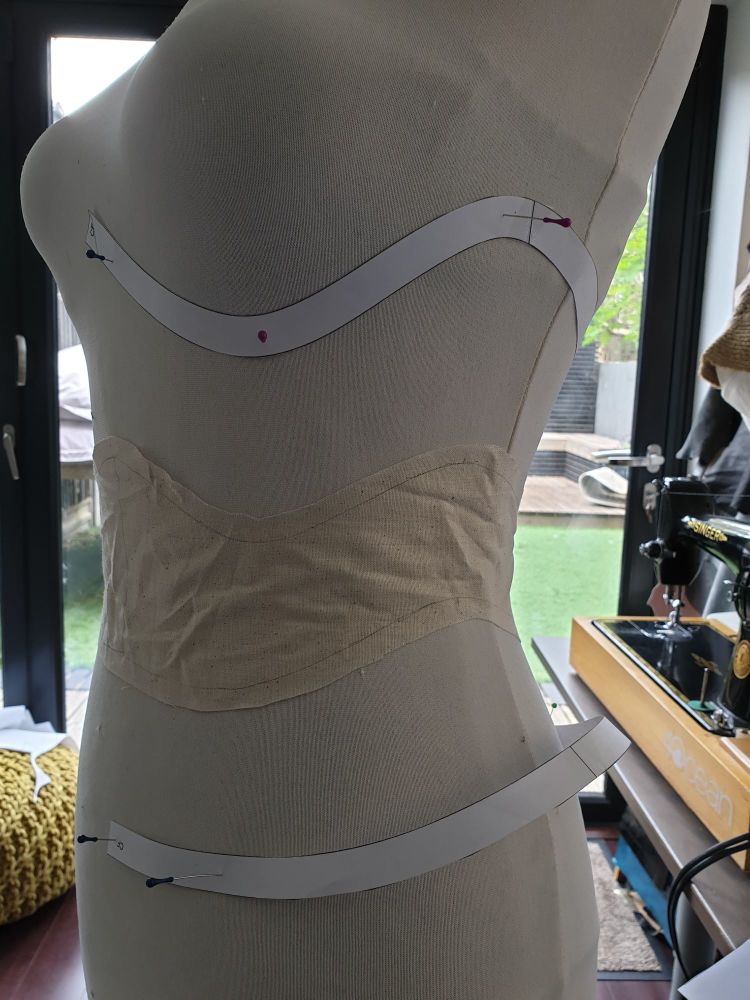
    I first draped a piece of fabric around the waist mimicking a waistband and just stared at it for a while before snipping into it. I started thinking about how it could 'spring' around the ribs and hips. Snipping into it made me think about introducing a wavey top and bottom line that would help with the spring needed;
    20200609_145122

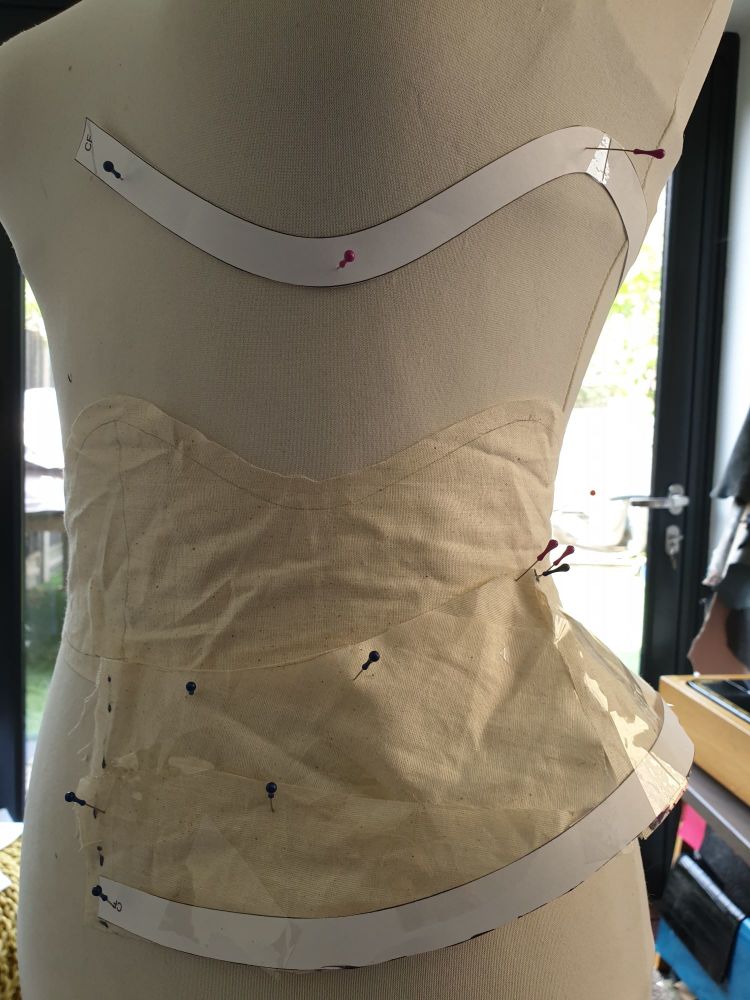
    I put a strip of paper at the top and bottom and then used fabric scraps to fill in the gaps.
    20200609_151656

    20200609_153707

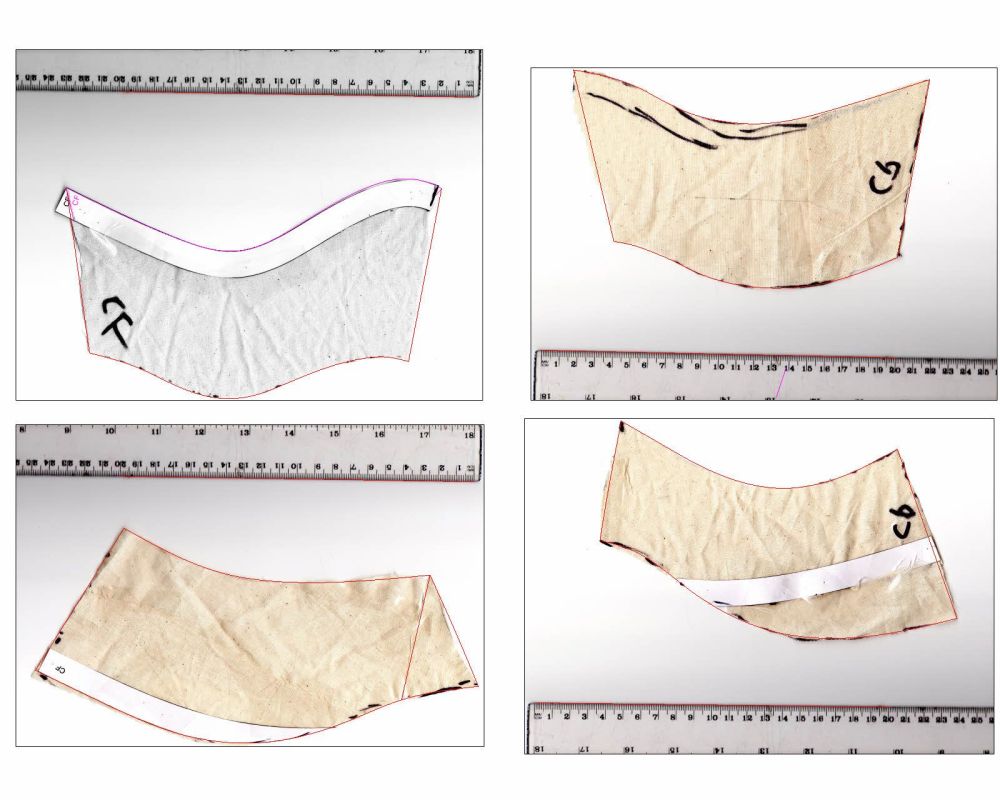
    I used sellotape, fabric, paper, pins - anything I could get my hands on to render a shape that could be cut into flat pieces and scanned in to get the pattern off to a start;
    all 4 scans traced

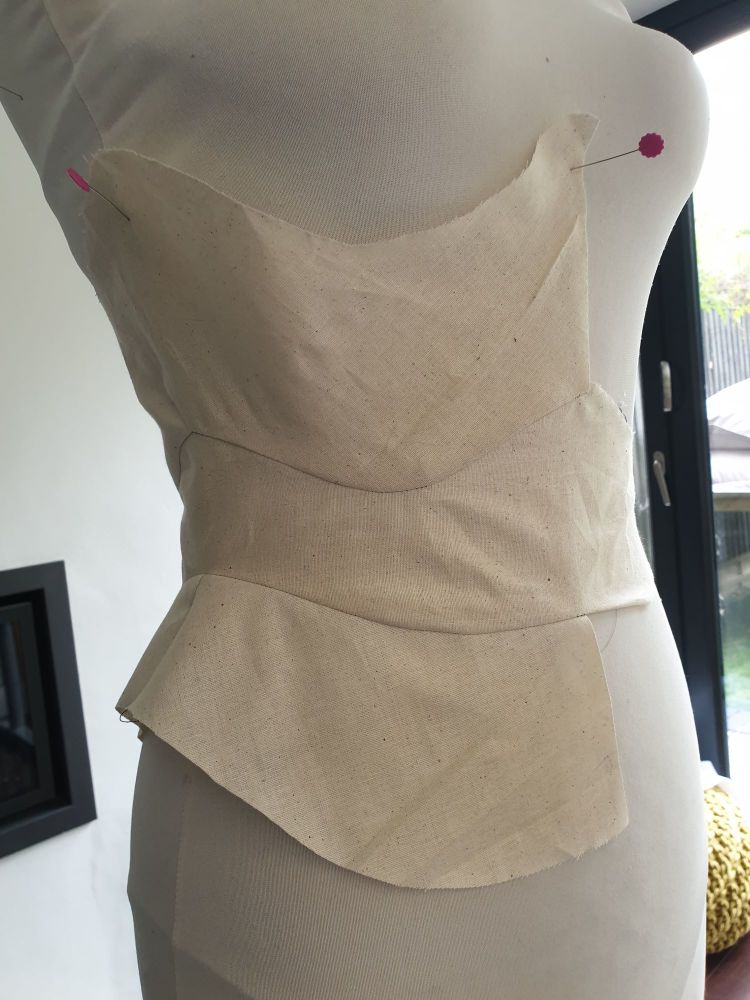
    Once I have imported these scans into CAD it takes just a few minutes to trace them, scale them up, true lines and print out so I can create my first fabric toile. It looked quite promising;
    20200609_173922

    I knew that the hip panels would need to be in at least 2 sections to get the required hip curve (I actually inserted a gore to do this initially at the centre/ mid point) but I was intrigued as to whether the rib section could made in one piece. A few toiles later I had my pattern of which the conclusions were;

    1. The rib section can be in one piece (but a mid seam at the toile stage is necessary for getting you to your final fit/size) if you are happy with a very straight conical shape to the ribs. Leaving the mid seam in allows a more hour-glass rib- cupping shape to be created.

    2. The waistband needed slimming down a little in certain places where it seemed a little flat. The 'waves' are llike large tabs that splay and curve over the iliac crest and under the ribs.

    3. I put one seam at the mid hip to create the hip curve, but a gore would give greater flexibility. The curve was slight for my physique and allowed the outer layer (which had a bit of stretch) to be made in just one layer. Essentially the outer layer was cut in just 3 panels!
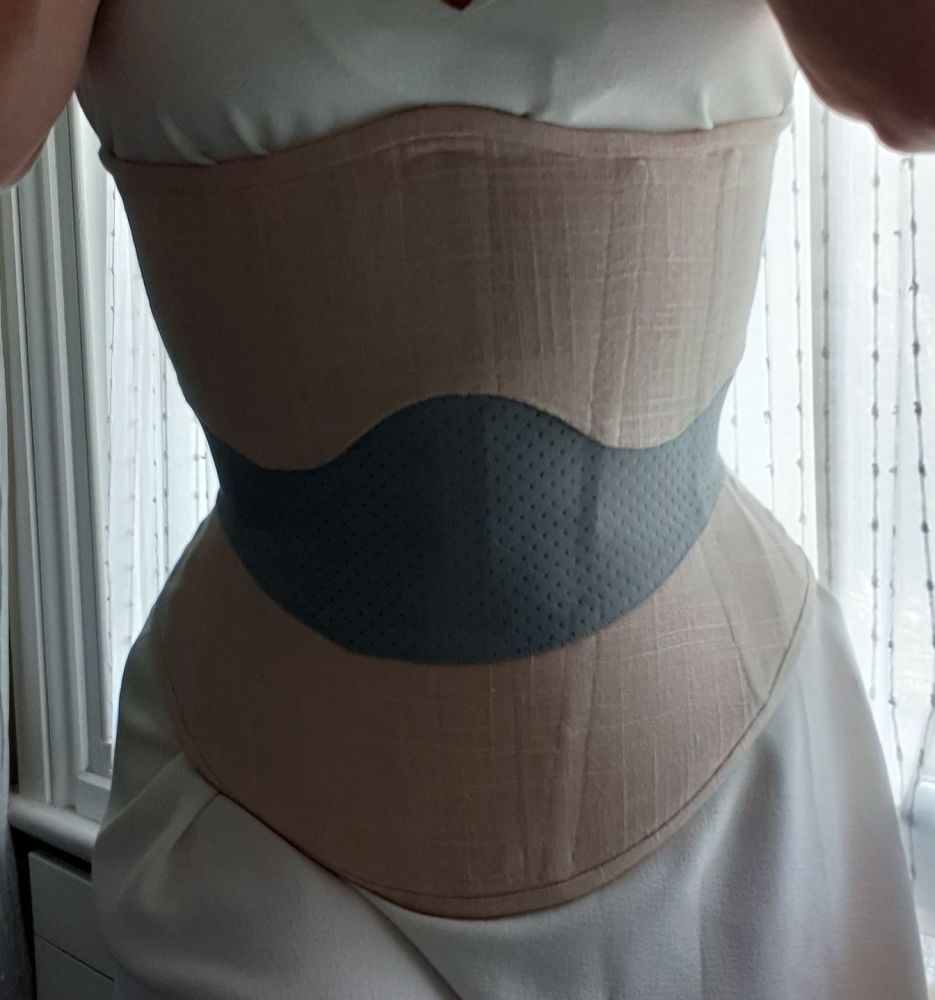
    20200616_114101

    4. I split the rib section into 2 (per side) for aesthetics but this entire section can be one panel.
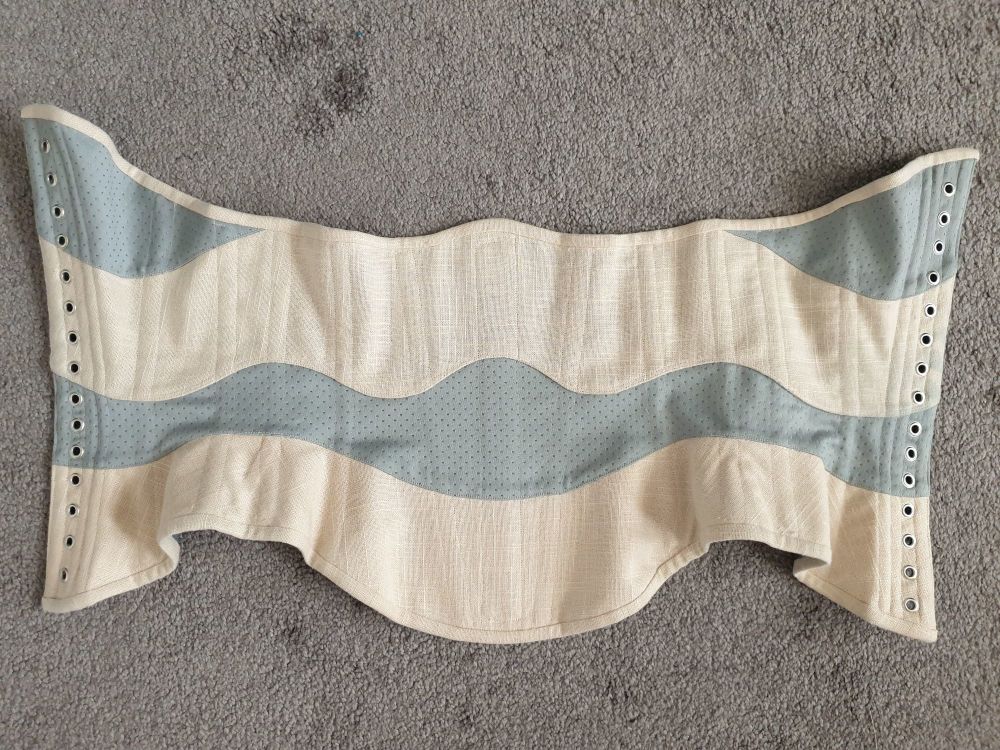
    20200616_111221

    5. I tried sewing the panels together as normal but ended up fighting with the opposing curves so ended up pressing down the seam allowance on one side and top-stitching it in place instead - much easier!

    This will be one of my forthcoming patterns on Patreon. It's so quick to make up!
     

  2. Latest designs

    Posted on

    Wow - 4 months since I last posted anything! I have been totally ensconced in grading my crescent bra so I can use it for June's Patreon pattern. I published it yesterday with the small - medium cup sizes and will work on the larger cup sizes next. I'm not sure how successful larger cups will be without straps but a few patrons have agreed to be my guinea pigs!

    Here is the design;

    20200422_151712

    I've approached this one a little differently in order to accommodate a larger number of cup sizes - always difficult in cupped corsetry. Essentially I have provided templates so that the maker can use the correct cradle for their size of wire/cup and draw it in the correct position on the front panels. So it is not exactly the finished article but I have provided a stack of information for the maker. Plus my usual size variation 'top & tails' to get the maker closer to a perfect fit before they embark on their toile.

    April's design was a peplum affair - a bit of fun!

    20200313_174151

    I have a few drafting projects to do for the Underpinnings Museum and a client in the US, and then it's on to my next design!

    Caroline x

  3. Another variation of the petal corset

    Posted on

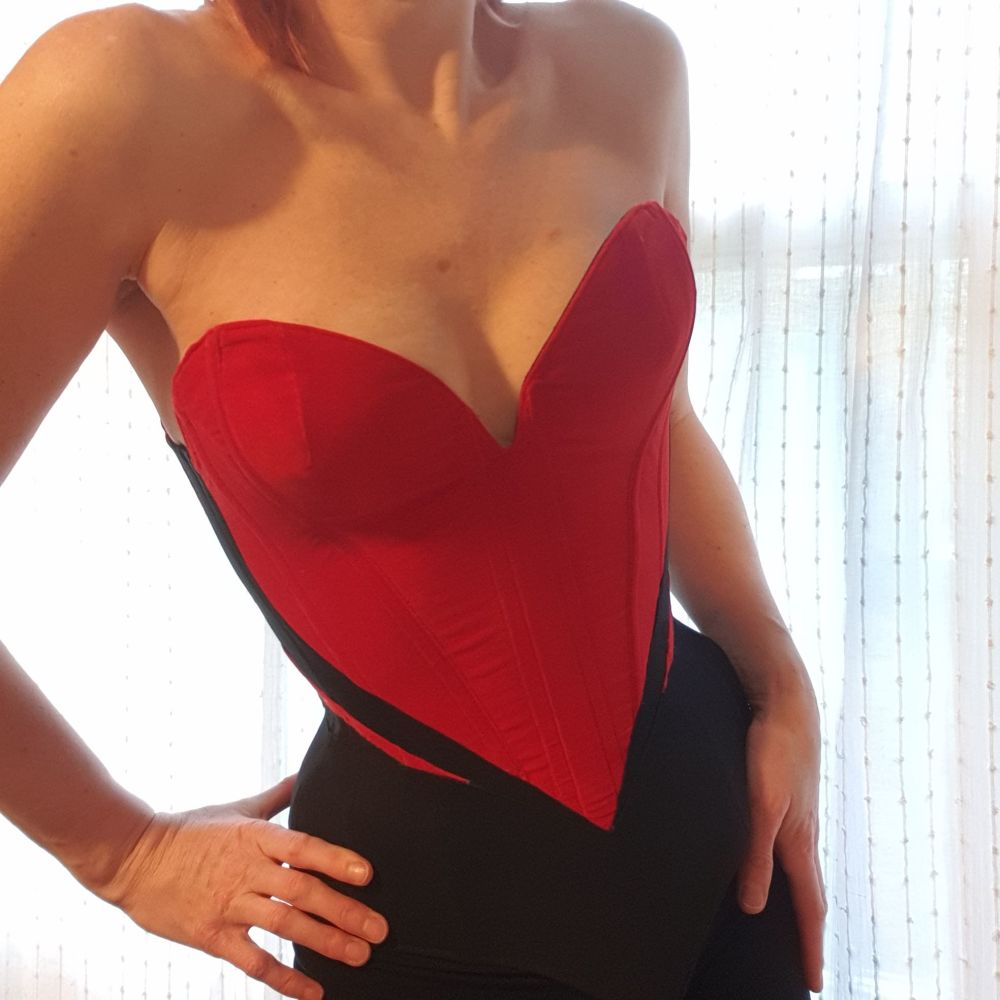
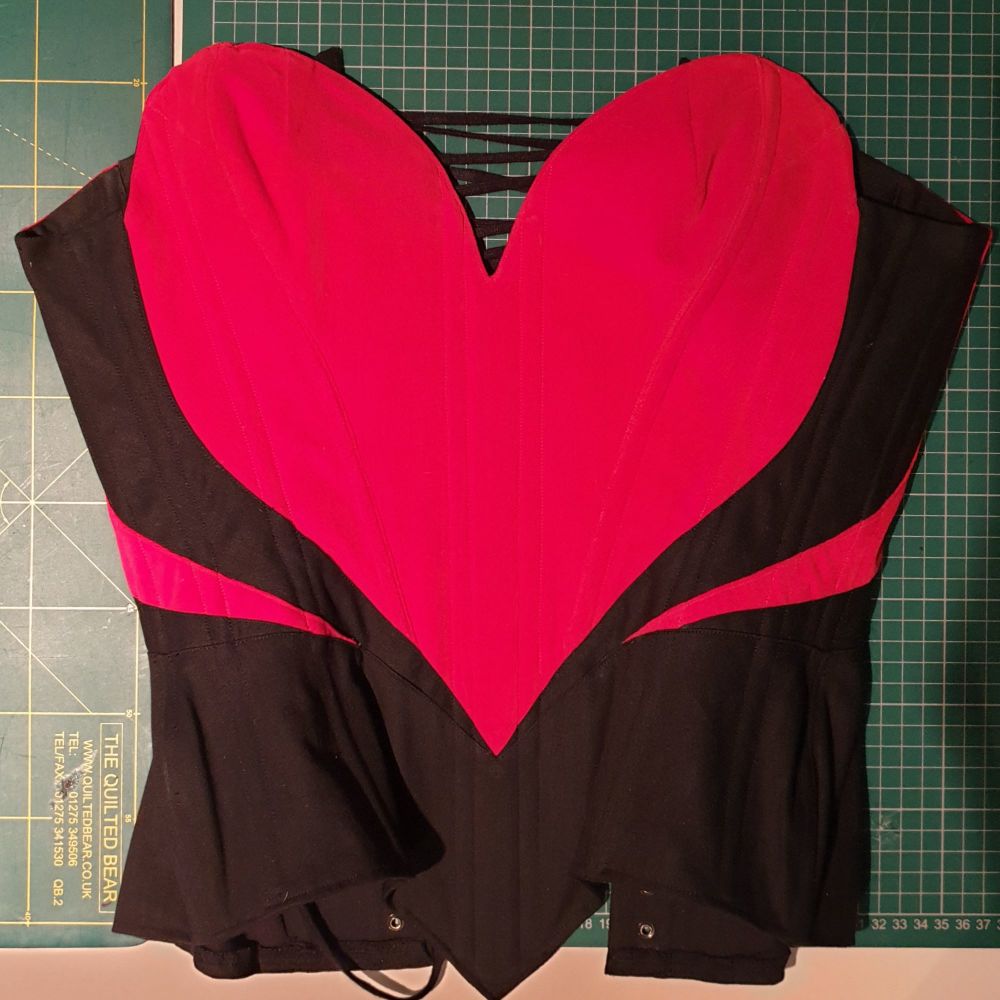
    I wasn't sure how commercial the petal corset would be in terms of a commercial pattern so I've spent the last week making it up again but with a rounded/smoothed out  top-line;

    20200211_165204

    It's always good to make it in a slighlty different way I find - my patterns have huge amounts of notes and information and I want the maker to be able to make it up in the esiest way possible, so a lot of testing goes into it. I think this is probably going to be the longest I have spent on a design in fact - it's coming up to 2 months....

    With this version I partially bagged out the heart front to achieve a decent point at the CF - this section comprises 2 panels and 2 darts. The 3 diagonal side panels are also bagged out - so each side is sewn to it's facing and then flipped to the right side - the seam allowance on the CF side is turned under and then top-stitched to the front section. The third section comprises the bottom section of the CF, a lower mid panel and the centre back containing the eyelets. This was also topstitched to the other two sections. Little gaps in the top-stitching allowed for the bones to be inserted once double channels had sewn the outer and inner layers together.  Seams were pressed to the back on the outer layer and the front on the inner layer to reduce bulk at the seams. The centre back panel was mirrored at the CB so self-faced, and a short liner was hand sewn to the non-lined bottom section. The seam allowance at the top of the centre back was folded under as was the entire bottom seam of the corset, so no binding!

    Happy valentines day!

    20200211_174605